Amazon Secret Documentation:
In order to interact with Google service such GKE , you will need to add google cloud secret into the Gripo application. Use the following steps to get the secret and add to GRiPO .
Adding Amazon’s Credential to GRiPO’s Workflow
- To create a connection, navigate to the Connection section
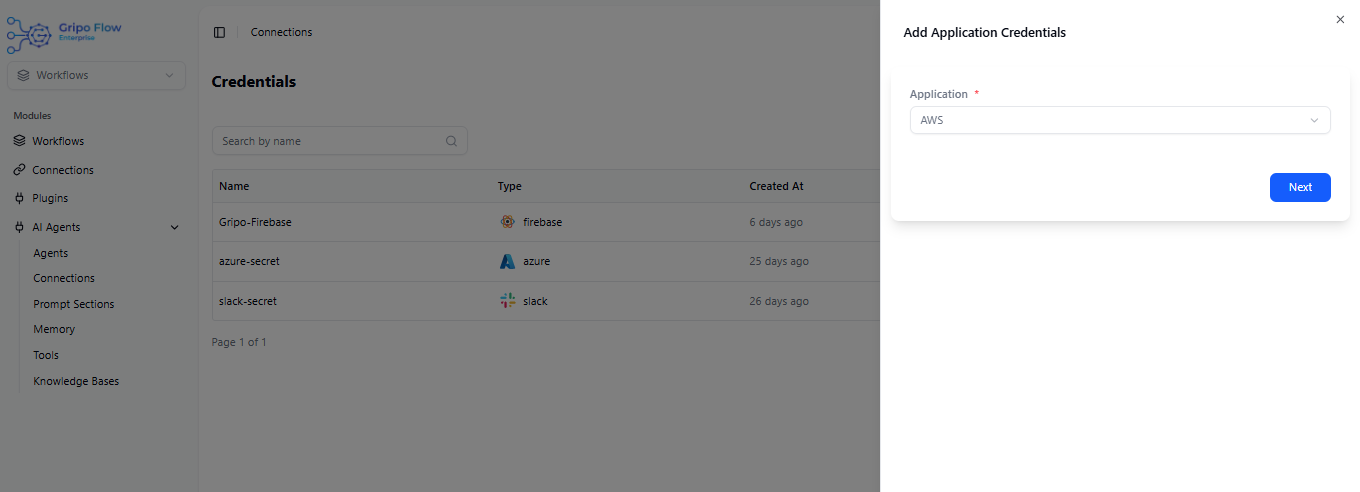
- Click on Add Credentials

- A window appears. From the Application dropdown, choose AWS.
- Click on Next button
- Enter a designated name for your account.
- Provide the Access Key ID
- Provide the Secret Key ID.

Access Key ID and Secret Access Key can be obtained from the AWS Management Console
Create User ID on AWS Cloud
-
Visit https://aws.amazon.com.
-
Click “Sign In” in the top right corner.
-
Enter your Amazon account credentials.
-
Complete two-factor authentication if enabled.
-
After signing in, use the search bar to type ‘IAM.’
-
Click on ‘IAM Manage AWS Resources’ in the search results.
-
Now you can manage your AWS resources through the IAM section.
-
After accessing the ‘IAM’ section, a window will display. Within the Dashboard navigation, locate the ‘USER’ category and proceed by clicking on it.
-
In the ‘USER’ section, view the list of user names and their information.
-
If the desired user is not listed, click ‘Create’ in the upper right corner.
-
Enter the new username in the prompted window.
-
Click ‘Next’ to proceed.
-
Set Your desired Permission
-
Choose your preferred user group from the list.
-
After selecting a user group, click ‘Next.’
-
Review the new username details.
-
If satisfied, click ‘Create User’ to finish.
-
For adjustments, use the ‘Previous’ button before creating.
Create Access Key ID on AWS Cloud
-
After creating the username, select it from the list.
-
Click ‘Next’ to proceed.
-
To create an access key, choose ‘Create Access Key’ from your username options.
-
In the “Best Practice for Access Key and Alternatives” step of creating access key, choose your preferred Use Case.
-
Click ‘Next’ to proceed after making the platform selection.
-
Set descriptive tags for identification.
-
Click ‘Create Access Key’ to finalize the process.
-
A pop-up for verification has appeared.
-
To view your access key and secret key, simply click on the Show option
-
Copy the access key and secret key to proceed with the next steps
Adding User & Secret Key ID to Workflow
- Paste “Access Key ” in “Access Key ID ” field of form and “Secret Key ” in “Secret Key ID” Field of form which is copied from amazon portal.
- Click the “Submit” button to create the secret.
