Steps to Create a Workflow
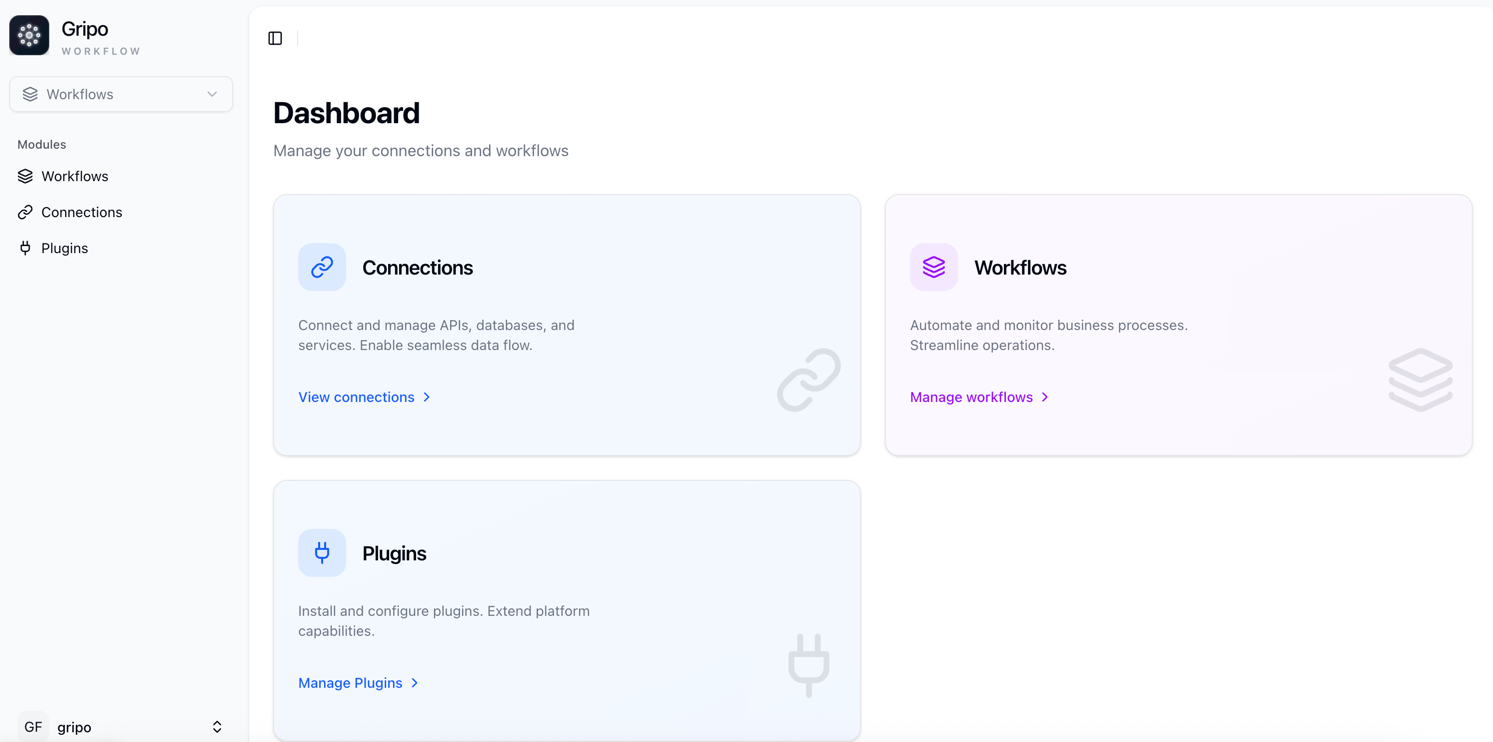
- Navigate to the Workflow tab from the main menu.
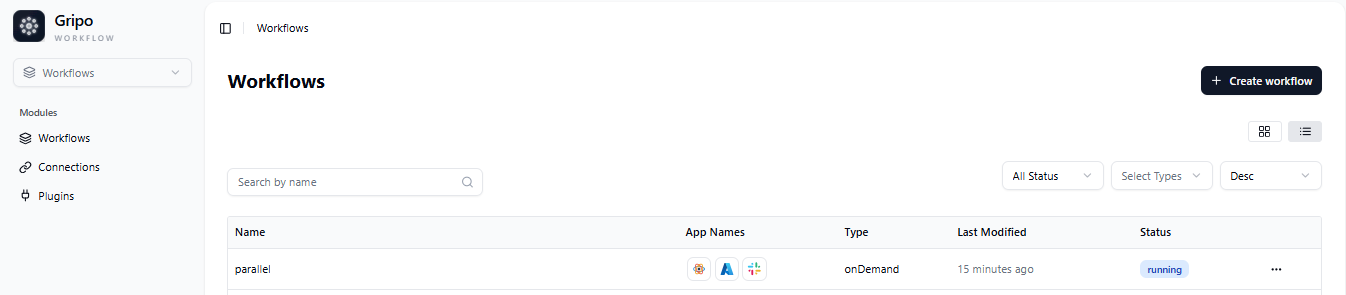
- On clicking Workflow, a window will appear displaying a list of all existing workflows.
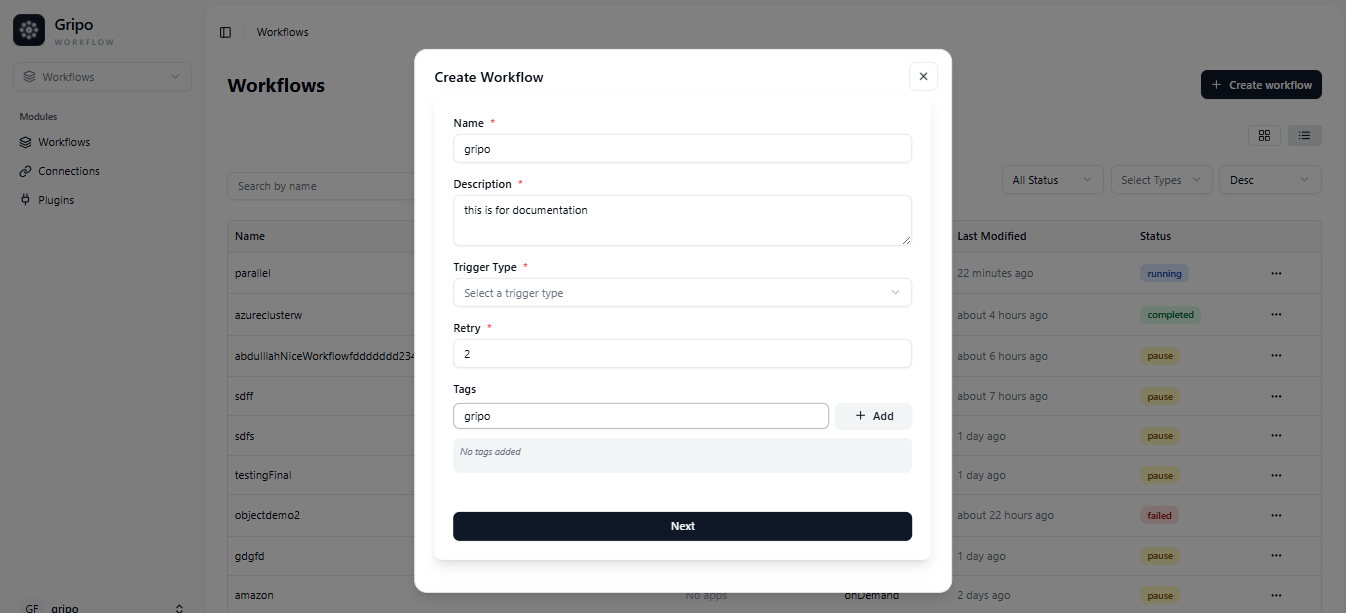
- To create a new workflow, click on the Create Workflow button.
- A form will appear containing the following fields:
Name : Enter a unique name for your workflow.
Description : Add a short explanation of what the workflow does.
Type : Select the workflow type from the available options.
Retry : Define how many times a failed step should be retried.
Tags : Add relevant tags to help categorize and filter workflows.

- You can create different types of workflows based on your needs :
On Demand : Runs when you start it manually.
On Schedule : Runs automatically at set times
Webhook : Starts when a specific event happens.
WhatsApp : Runs when triggered through a WhatsApp message.
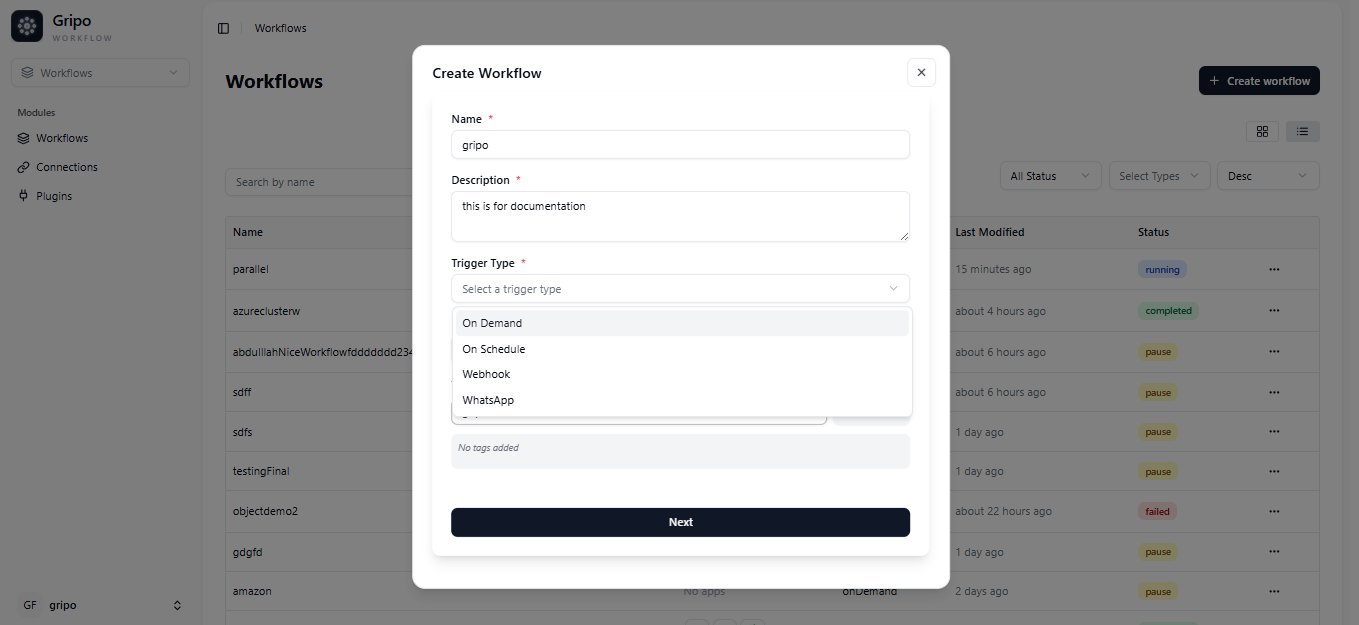
- After filling in all the required fields, click on the Next button to create your workflow.
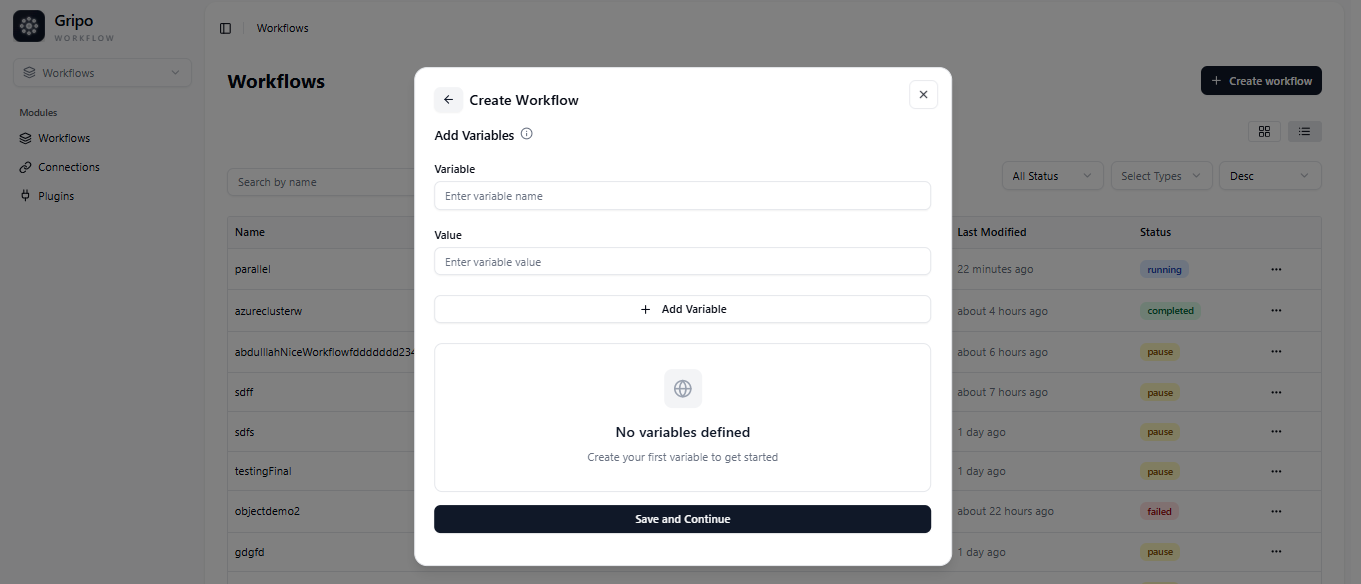
- A window will appear with fields for adding Variables and their Values.
- You can add as many variables as needed by clicking Add More Variable.
- If you don’t want to add any variables, click Skip Variables to move ahead.
- If you’ve added variables, click Save and Continue to proceed.
- A confirmation popup will appear, indicating that your workflow has been successfully created.
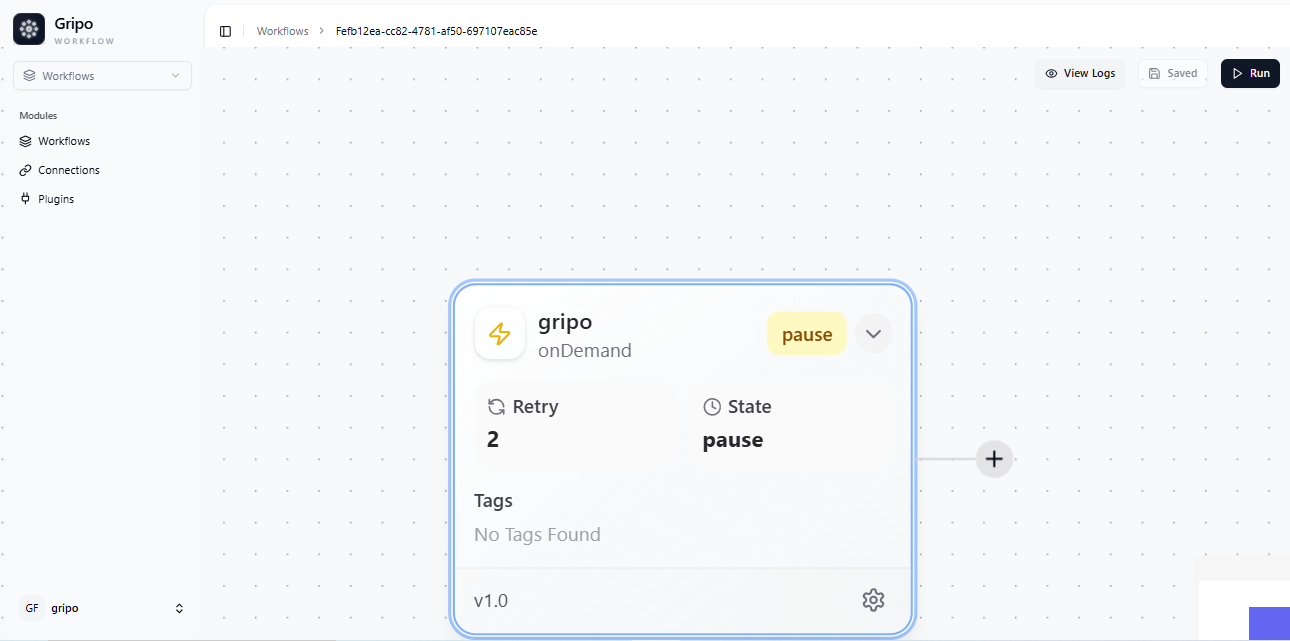
- Once the workflow is created, you can view it in the workflow .
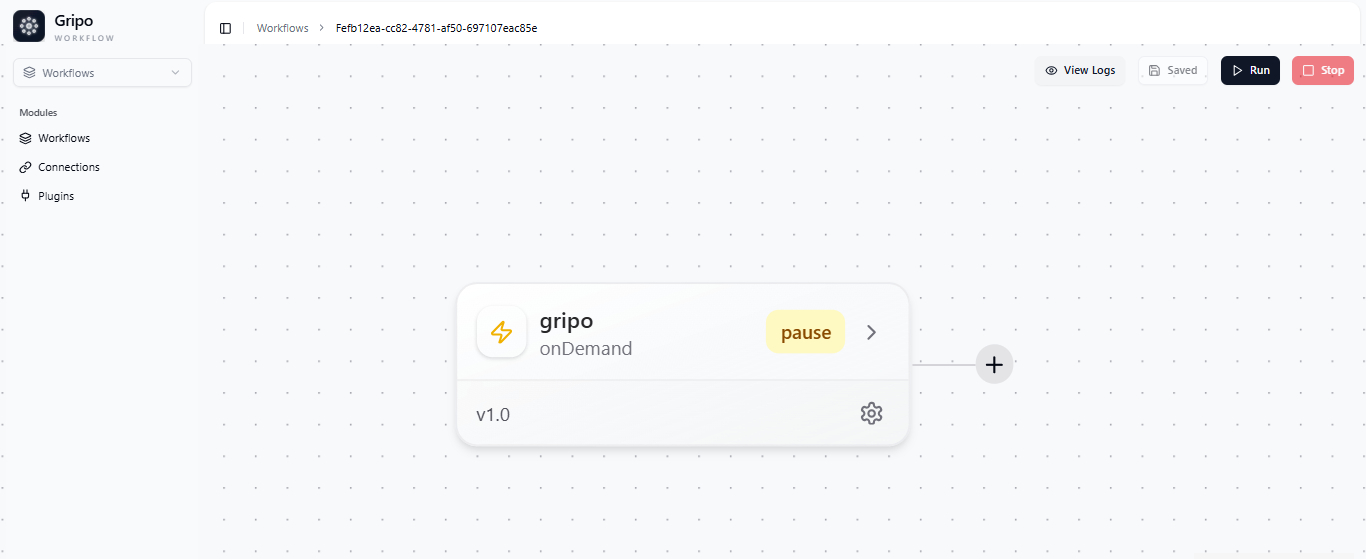
- You can view the details of your workflow by clicking the dropdown arrow on the workflow card. This will expand the card and display complete information about the workflow, including its description, type, and configuration details.