Webhook Workflow
When to Use: Select a Webhook Workflow when you want GRiPO to start a workflow automatically after an event happens in another system. This is useful when you want real-time responses or automatic actions between tools.
Examples:- When a new issue appears in your monitoring tool, GRiPO automatically restarts the affected service.
- When a ticket is created in Jira, GRiPO sends an alert to Slack.
- When a GitHub commit is pushed, GRiPO starts a deployment workflow automatically.
Create Webhook Type Workflow
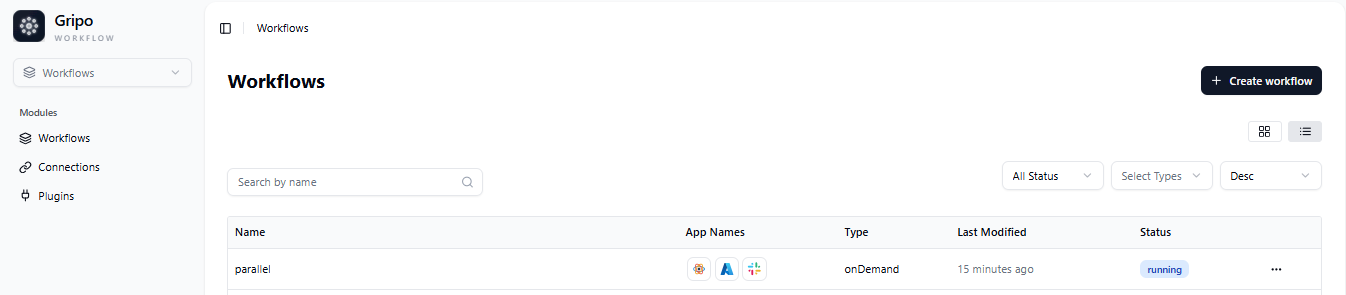
- Navigate to the Workflow tab from the main menu.
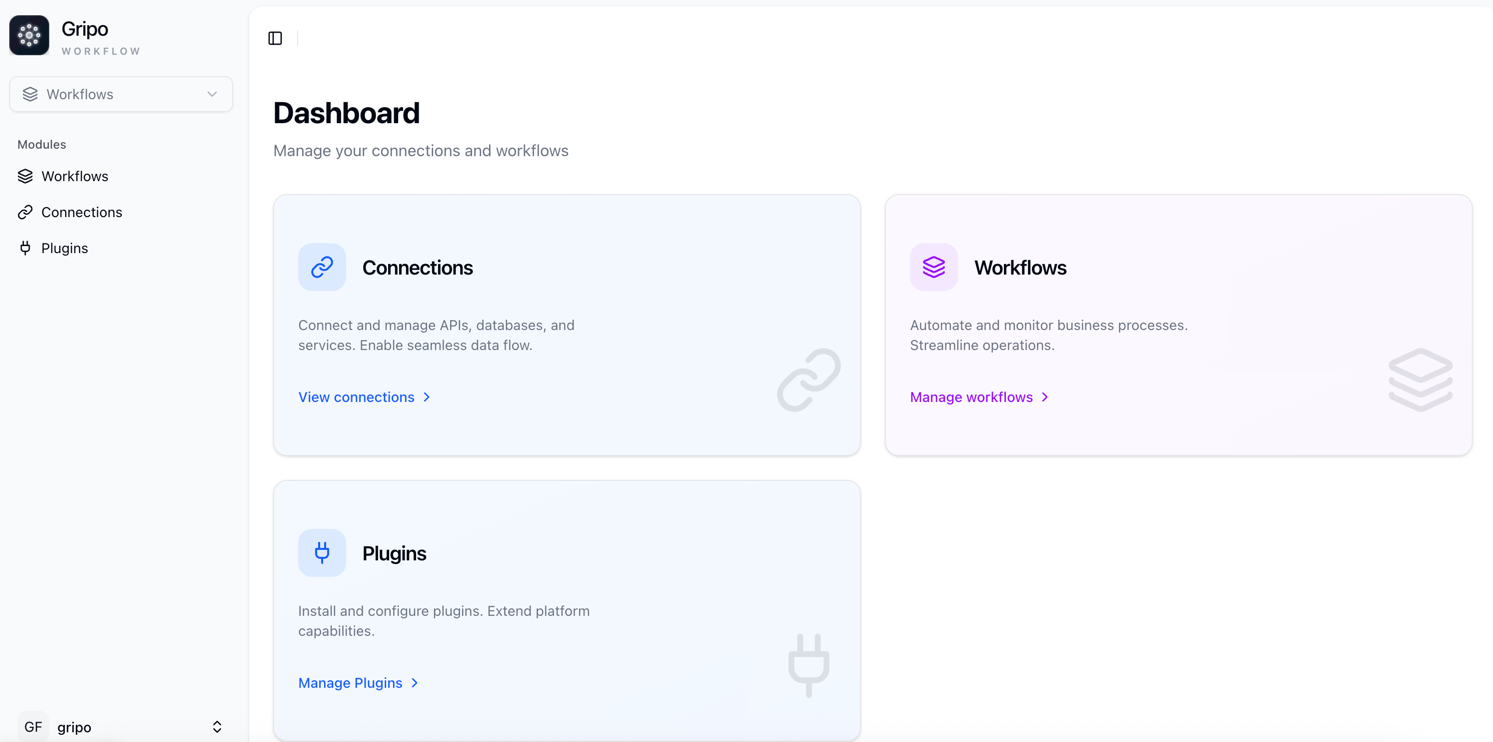
- On clicking Workflow, a window will appear displaying a list of all existing workflows.
- To create a new workflow, click on the Create Workflow button.
- A form will appear containing the following fields:
Name : Enter a unique name for your workflow.
Description : Add a short explanation of what the workflow does.
Trigger Type : Select the workflow type “Webhook” from the available options.
Retry : Define how many times a failed step should be retried.
Tags : Add relevant tags to help categorize and filter workflows.
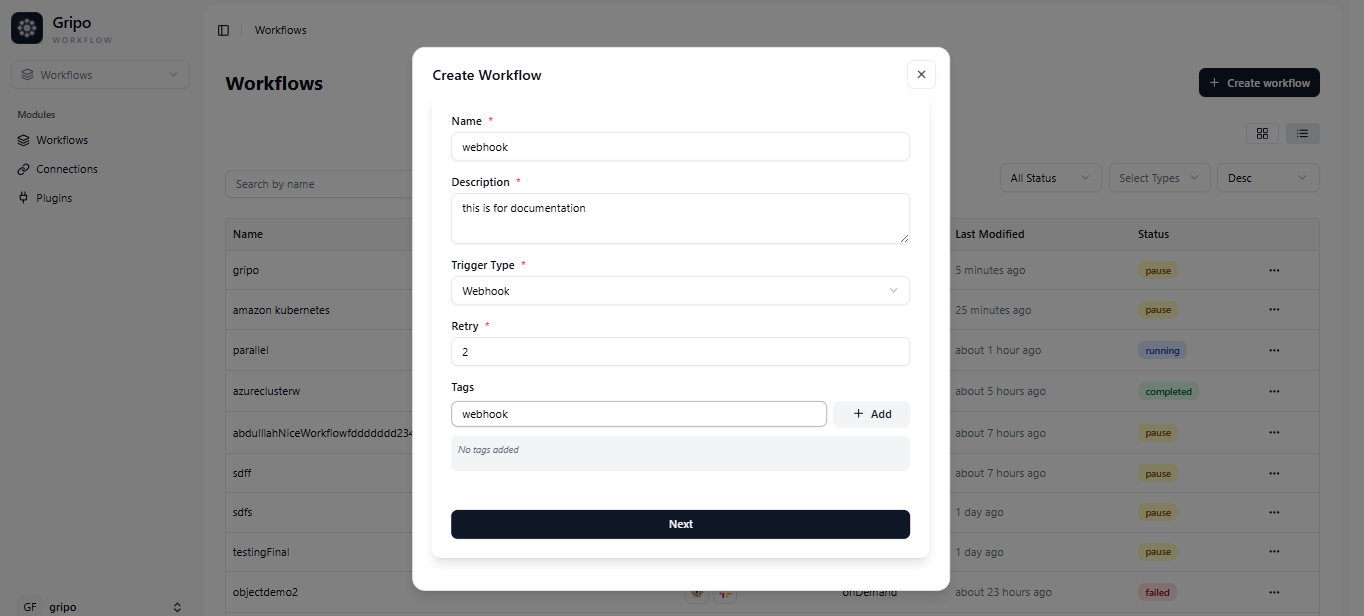
- After filling in all the required fields, click on the Next button to create your workflow.

- After selecting “Webhook” as the workflow type, a form appears with several configuration fields.
- Fill the following details:
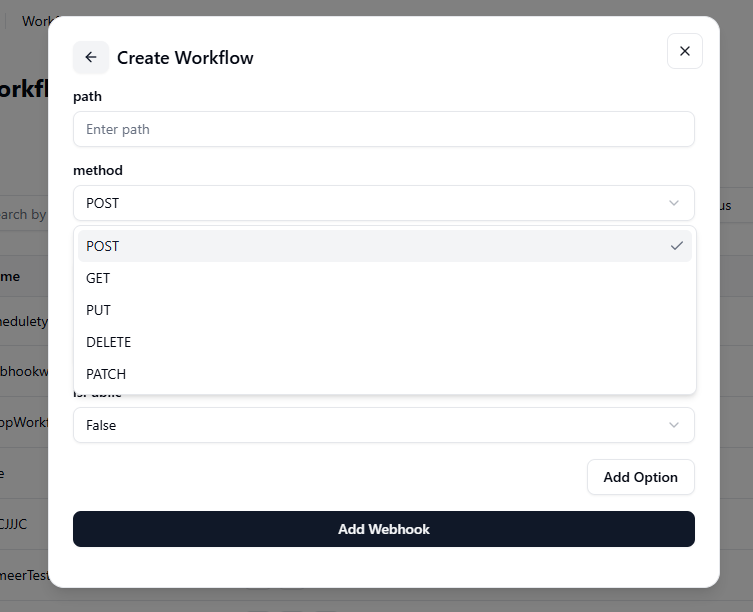
Method: Choose the HTTP method
Choose one of the following HTTP methods based on the action you want to perform:
- POST: Used to send new data to a server or application. Example: sending form data or creating a new record.
- GET: Used to retrieve existing data from a server. Example: fetching details of a cluster or user.
- PUT: Used to update existing data completely. Example: replacing an old configuration with a new one.
- PATCH: Used to update data partially, changing only specific fields. Example: updating the status of a node without altering other details.
- DELETE: Used to remove or delete data from the server. Example: deleting an unused resource or record.
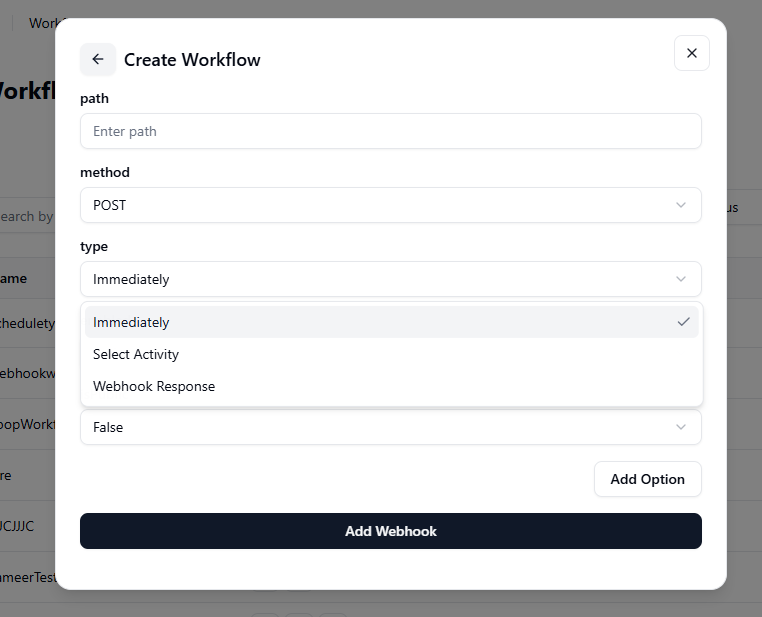
The Type option defines how and when your webhook workflow should run after being triggered. GRiPO offers three types:
- Immediately: The workflow starts as soon as the webhook is triggered, without waiting for any additional input or response. Ideal for quick, automated actions. Example: Restarting a service instantly when an alert is received.
- Select Activity: The webhook triggers a specific activity within the workflow instead of running the entire workflow. Useful when you only want to perform one defined action. Example: Updating cost data or sending a notification without executing all steps.
- Webhook Response: The webhook waits for a response before continuing to the next step in the workflow. This is best for integrations that require confirmation or data exchange. Example: Waiting for an API to return success or failure before moving ahead.
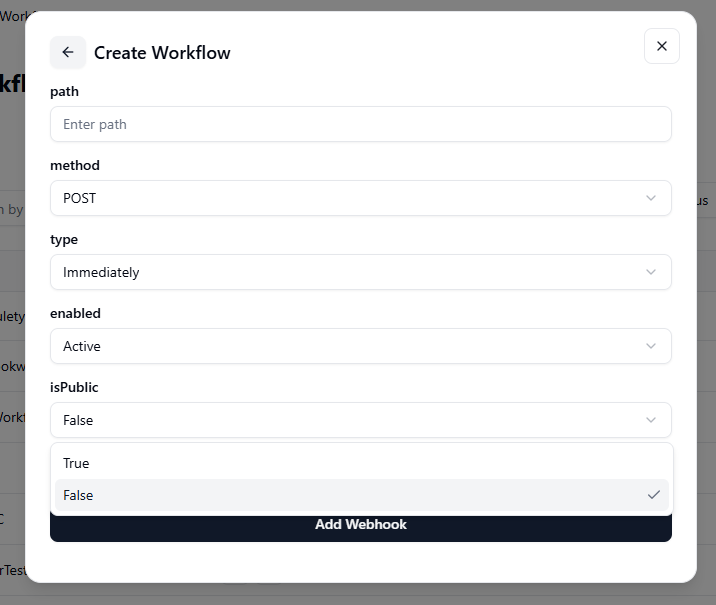
- Active: The webhook is live and ready to receive or send data when triggered.
- Inactive: The webhook is disabled and will not respond until reactivated.

- True: The webhook is publicly accessible, meaning external systems can trigger it without authentication (use with caution).
- False: The webhook is private and secure, allowing access only through authorized connections.
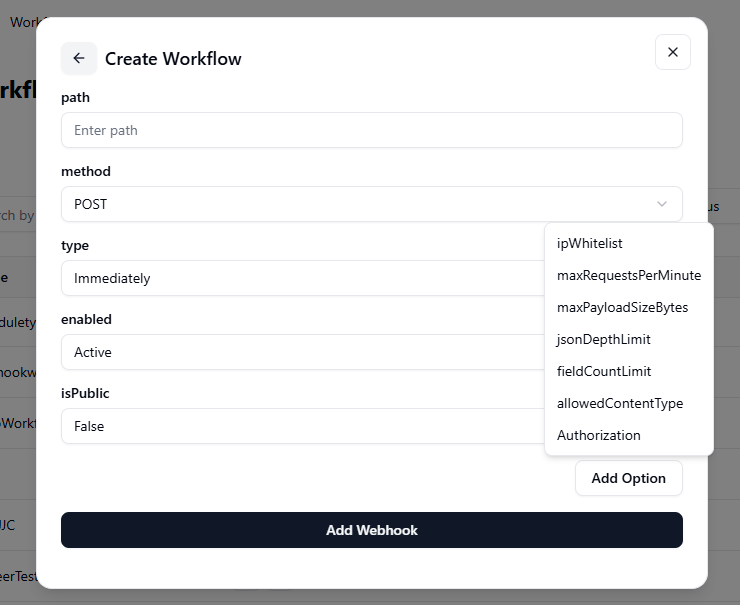
If you want to include additional settings, click on the “Add” option.
- IP Whitelist:Define specific IP addresses that are allowed to access the webhook. This adds an extra layer of security by blocking unauthorized sources.
- Authorization:Set authentication credentials (like tokens or keys) required to access the webhook, ensuring only trusted systems can trigger it.
- Allow Content Type:Specify which data formats (e.g., JSON, XML, or form data) the webhook will accept from incoming requests.
- Field Count Limit:Limit the maximum number of data fields allowed in a webhook request to prevent oversized or complex payloads.
- JSON Depth Limit:Set how deeply nested JSON objects can be in a request — this helps protect against overly complex or malicious payloads.
- Max Payload Size (Bytes):Define the largest request size (in bytes) that the webhook can handle, ensuring system stability and performance.
- Max Requests Per Minute:Control how many requests the webhook can receive per minute to prevent overloading or misuse.
-
After filling in all the required fields, click on the Add Webhook
-
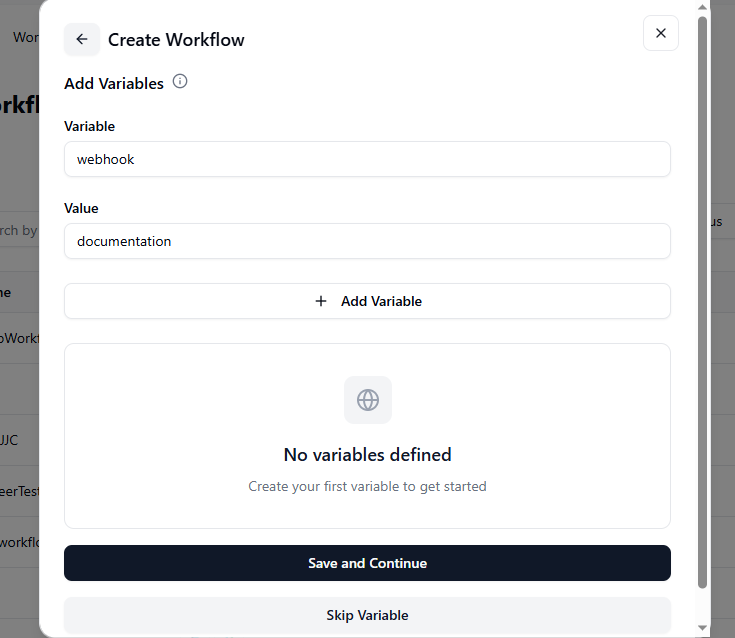
A window will appear with fields for adding Variables and their Values.
-
You can add as many variables as needed by clicking Add More Variable.
-
If you don’t want to add any variables, click Skip Variables to move ahead.
-
If you’ve added variables, click Save and Continue to proceed.
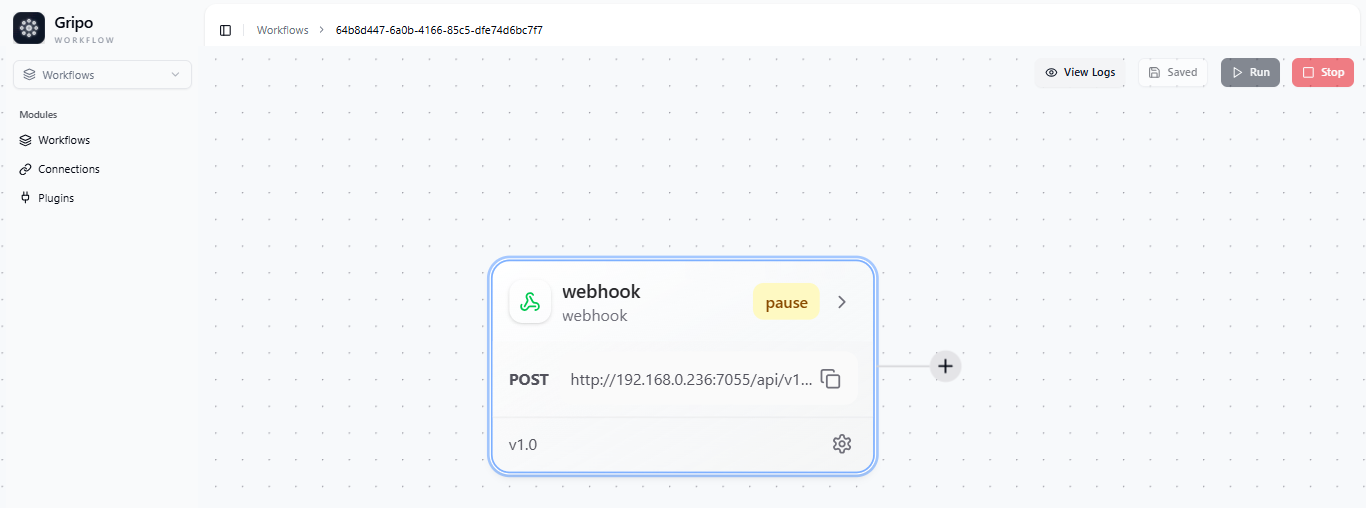
- A confirmation popup will appear, indicating that your workflow has been successfully created.
- Once the workflow is created, you can view it in the workflow .