Overview:
The E-mail activity allows you to send automated emails through GRiPO workflows. You can use it to share alerts, task results, or reports instantly with your team — keeping everyone updated without manual effort.
Examples:- Send email alerts when a workflow finishes.
- Share task reports or system updates.
- Notify teams about workflow failures or errors.
Create a Workflow with Azure and Email Activities
Step 1: Navigate to the Workflow Section
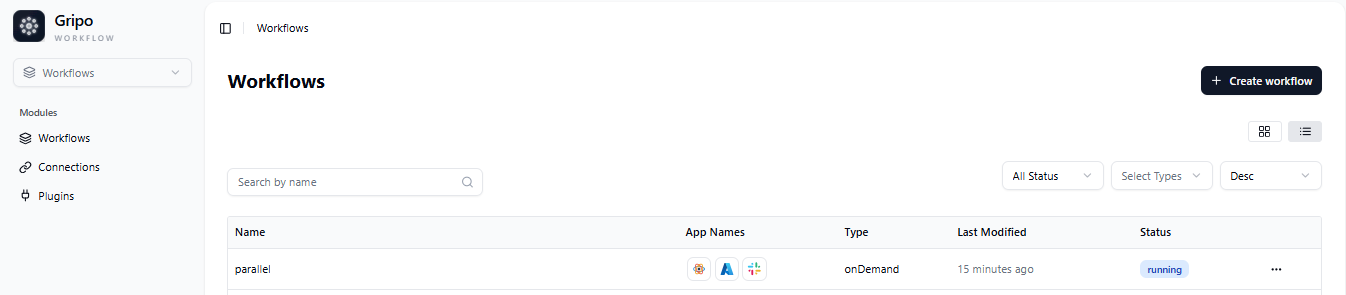
- From the main menu, click on the Workflow tab.
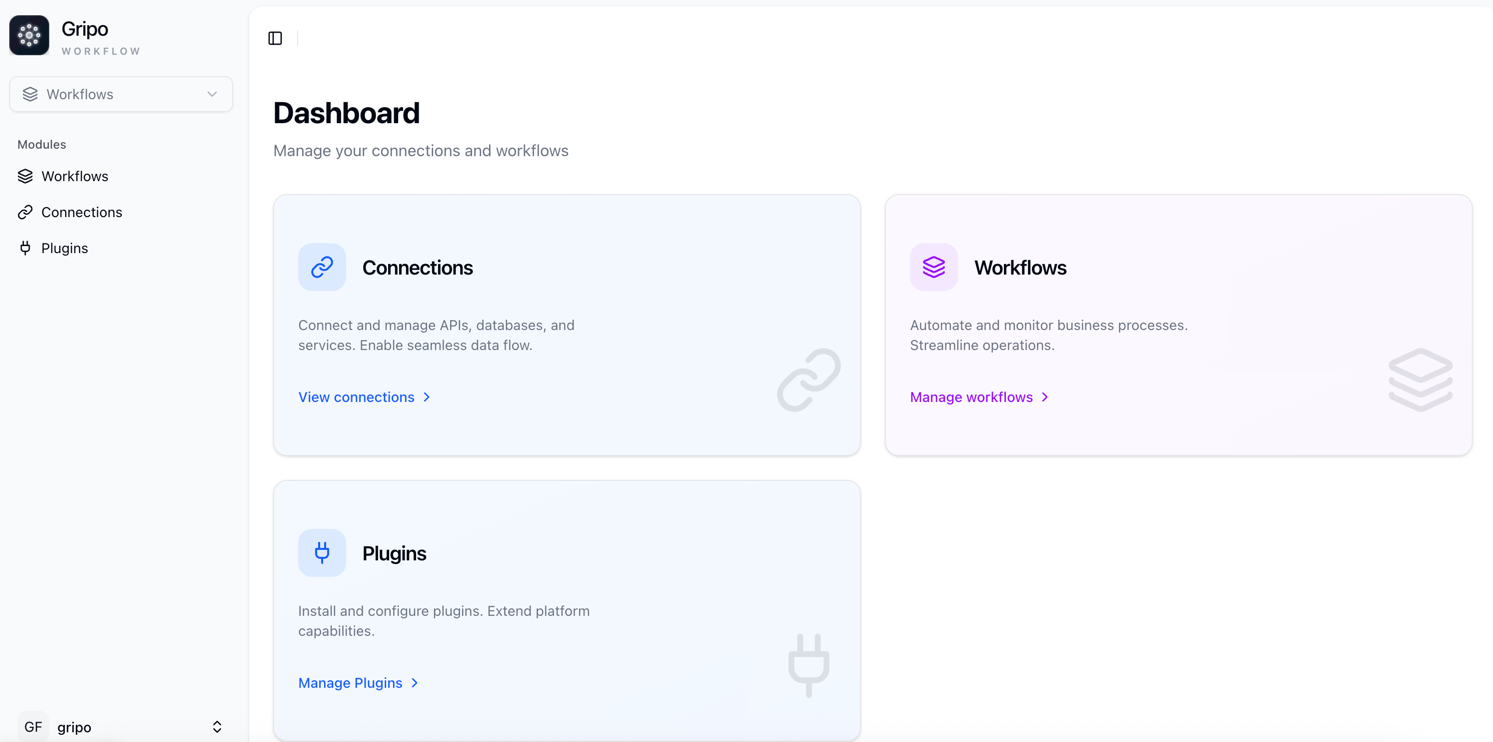
- A page will appear showing a list of all existing workflows.
- To create a new workflow, click on the Create Workflow button.
**Step 2: Fill in workflow details — name, description, type, retry count, and tags — then click Next.
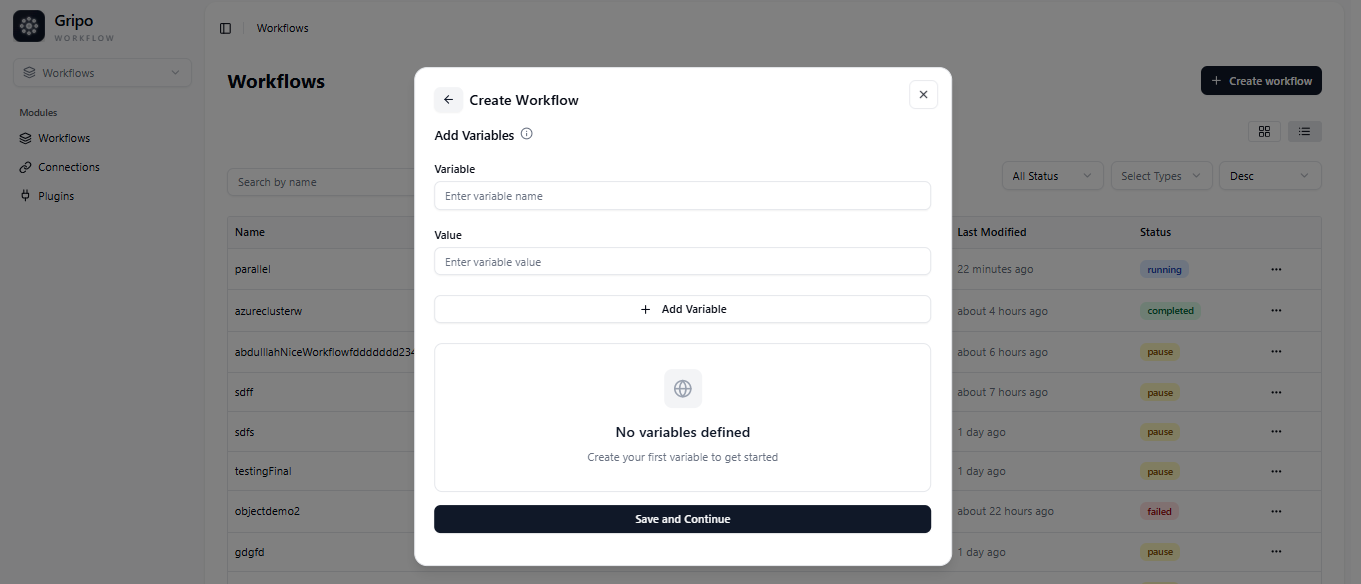
Step 3: (Optional) Add variables if needed, or Skip Variables to finish creating your workflow.
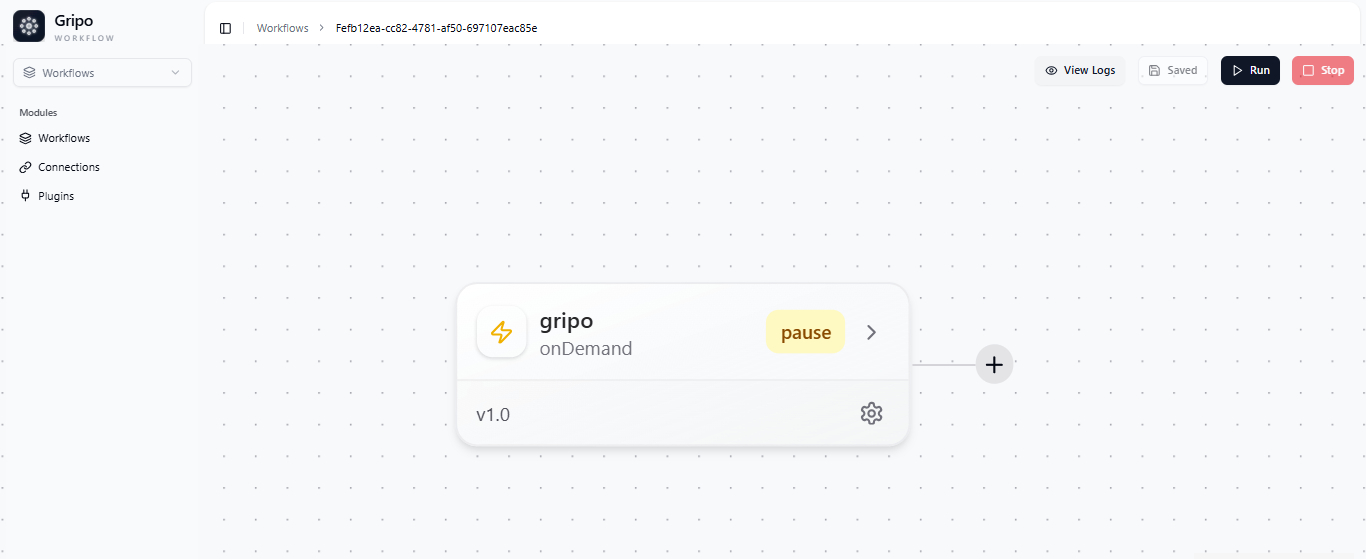
Step 4: Add an Activity
-
Once the workflow is created, click on the “+” button to add a new activity.
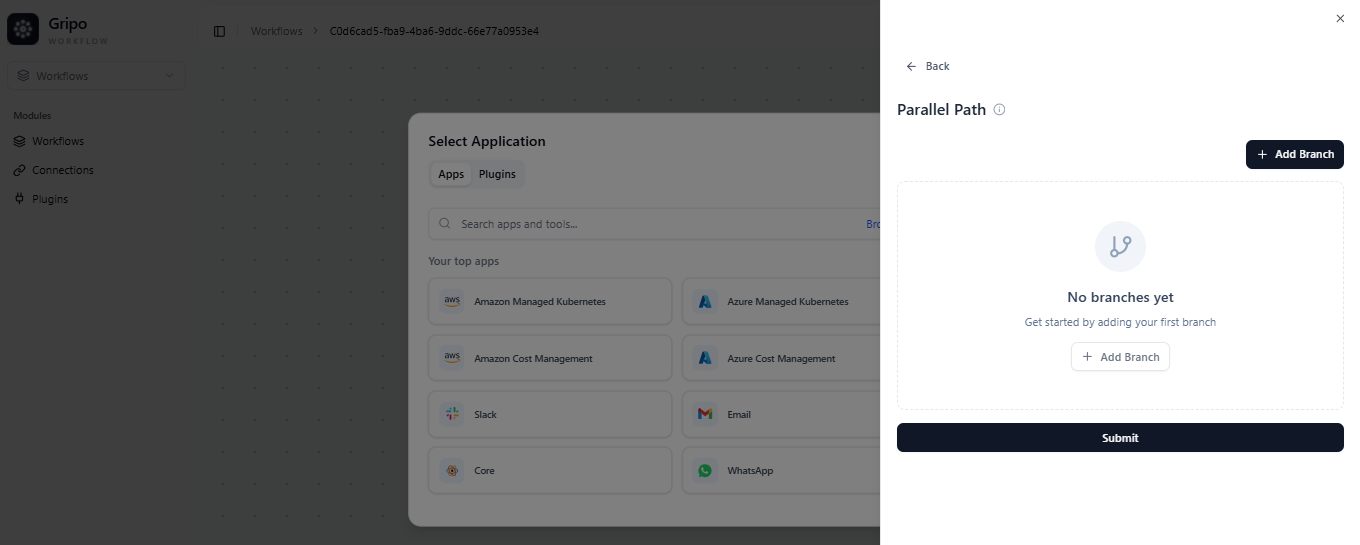
-
A window will appear — select Application.
-
Choose Azure Managed Kubernetes.
-
From the list, choose All Cluster.
-
A form will appear with the following fields:
- Cloud Provider: Select Azure.
- Connection Reference: Choose your saved Azure connection.
- Resource Group: Enter the Azure resource group name.
- Cluster Name: Enter the name of your Kubernetes cluster.
-
After filling all required details, click Submit.
Azure Managed Kubernetes activity will now be added to the workflow.
Step 5: Add an Email Activity to View the Result
To receive the workflow results or notifications via email, add an Email activity.
- Click on the “+” button below the Azure activity.
- From the list, select Email.
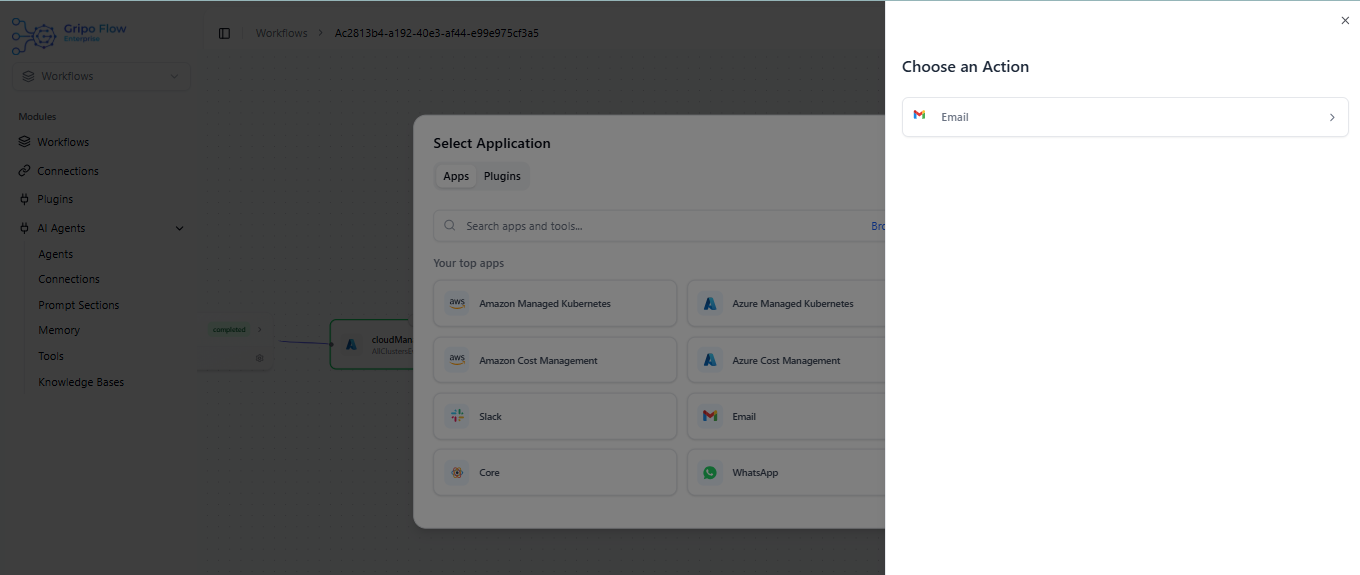
- Choose the action Email Message.
4. A form will appear with the following fields:
- Connection Reference: Select your email service connection (e.g., SMTP or pre-configured email service).
- From Email: Enter the sender’s email address.
- To Email: Enter the recipient’s email address.
- Subject: Add a meaningful subject line (e.g., “Azure Cluster Action Result”).
- Message: Write the message content or use dynamic values from previous activities.
- Format: Choose between Text or HTML.
- Once the form is complete, click on Submit.
Your Email activity is now successfully added to the workflow.
Step 6: Save and Run the Workflow
- Click Save Workflow to store all your configured activities.
- To execute it, click Run Workflow.
- The workflow will start executing your Azure activity, and once completed, it will send a confirmation email to the provided address.
Outcome
Once executed:
- The Azure Managed Kubernetes action (like starting or resizing a cluster) will be performed.
- A notification email with the status or output will be sent to your specified email address.
This simple automation helps you manage Azure clusters and receive instant updates without manual intervention — all powered by Gripo’s Workflow automation.