Example Use Case: Fetch Cluster and Node Pool Details Using Loop Activities
Summary
This use case demonstrates how to create a workflow in Gripo that automatically retrieves Cluster Names and Node Pool Names from Azure Managed Kubernetes using Loop Activities.
By using loops, you can iterate through all clusters and their respective node pools without manually repeating steps, making your automation efficient and scalable.
Prerequisites
- You have an active Azure connection reference configured in Gripo.
- Your Azure account has access to view clusters and node pools in the selected resource group.
- You are familiar with basic workflow creation in Gripo.
Step 1: Create a New Workflow
-
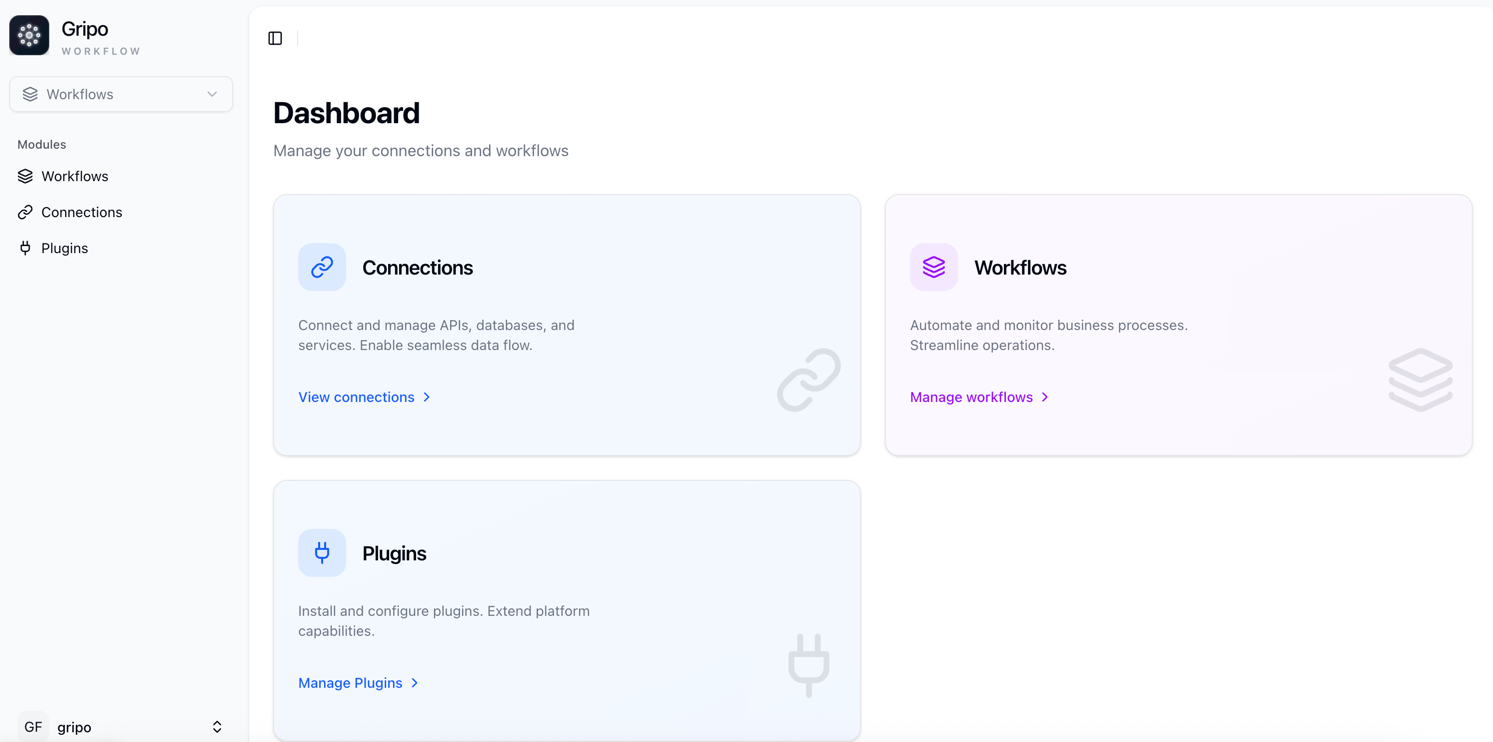
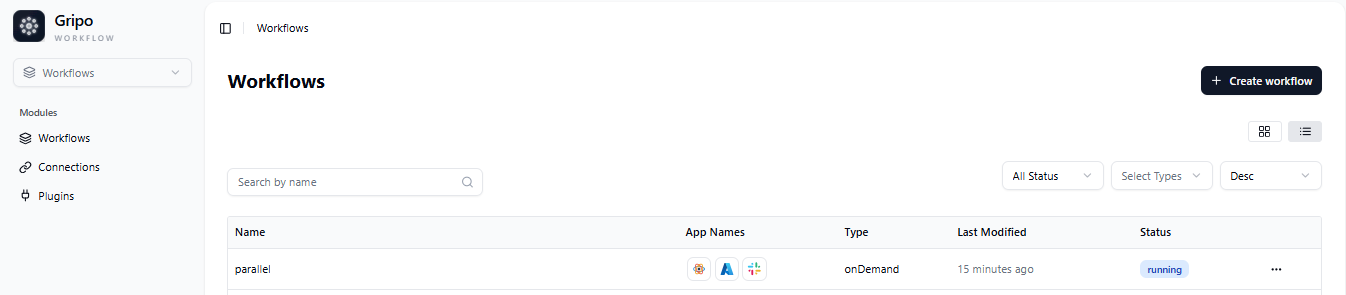
Navigate to the Workflow tab from the main menu in Gripo.
This is where all workflows are created and managed.
-
Click on the Create Workflow button.
A form will appear for you to configure your new workflow.
-
Fill in the required details:
- Name: Enter a unique name such as
Fetch Azure Cluster and Node Pool Details. - Description: Add a brief note like
This workflow retrieves all Azure clusters and their node pools automatically. - Type: Choose On Demand for manual runs or On Schedule for automated execution.
- Retry: Set retry attempts (1–2 recommended for stability).
- Tags: Add tags like
azure,loop, orautomationfor easy filtering.
- Click Next to continue.

- Name: Enter a unique name such as
-
A window will appear with fields for adding Variables and their Values.
-
You can add as many variables as needed by clicking Add More Variable.
-
If you don’t want to add any variables, click Skip Variables to move ahead.
-
If you’ve added variables, click Save and Continue to proceed.
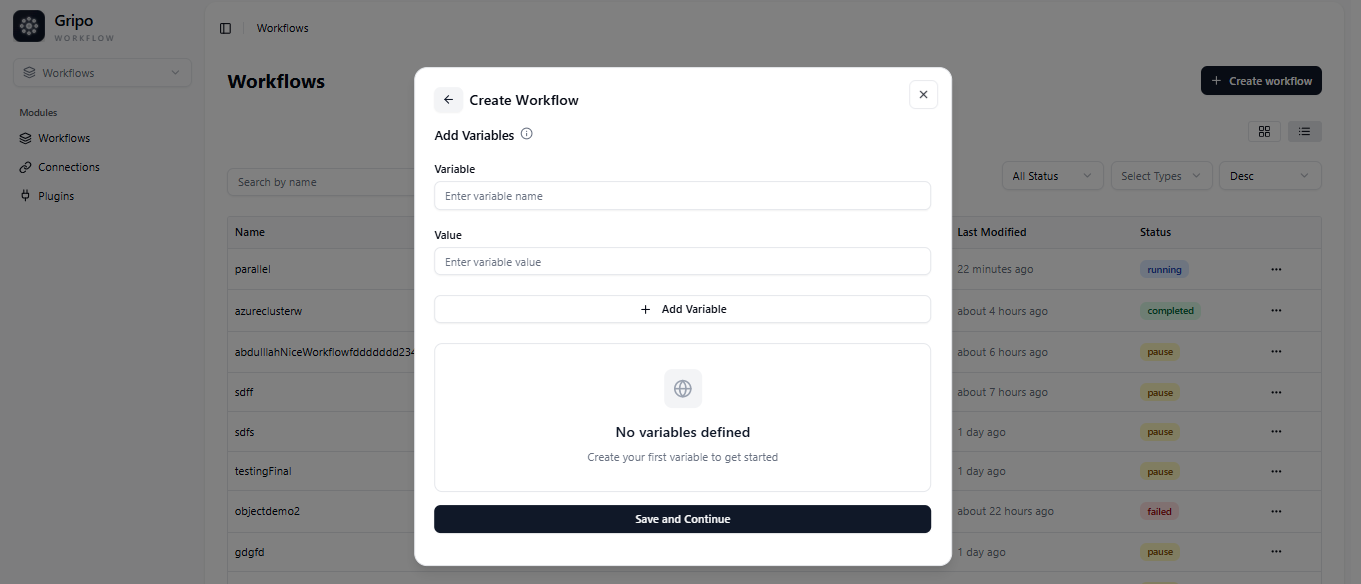
- After saving, a confirmation popup appears, indicating the workflow is successfully created.
Step 2: Add Azure Managed Kubernetes Activity
-
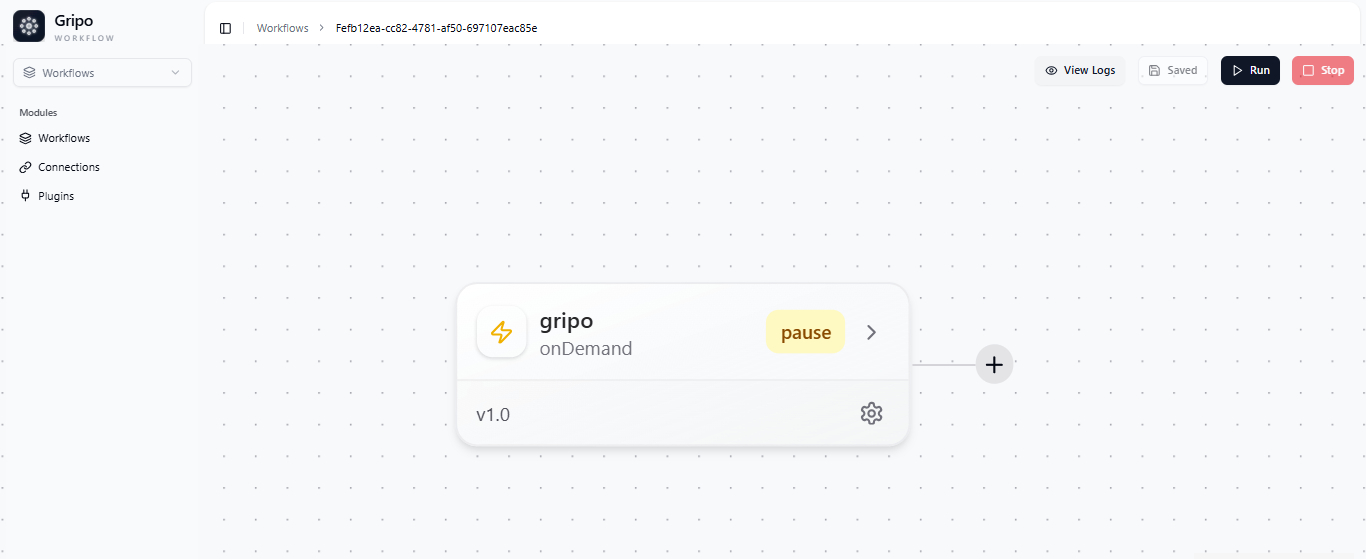
Click the “+” button to add your first activity.

-
From the application list, select Azure Managed Kubernetes.
This app allows Gripo to interact with Azure AKS clusters.

-
In the Action dropdown, select All Clusters to fetch the list of all clusters available in your environment.

-
Configure the activity:
- Cloud Provider: Choose Azure.
- Connection Reference: Select your existing Azure connection.
- Click Submit to confirm.

-
Once submitted, the Azure Managed Cluster activity is added to the workflow.
It retrieves the cluster list for further processing.

Step 3: Add First Loop Activity — Iterate Over Cluster List
-
Click the “+” button to add another activity.
-
Navigate to the Core section

- Select Loop.

- Select Loop.
-
In the loop configuration:
- Specify the input source as the output of the previous Azure activity (e.g.,
activityA1.items). - Click Submit once configured.

- Specify the input source as the output of the previous Azure activity (e.g.,
-
The loop will now iterate through each cluster returned by the Azure Managed Cluster activity and fetch detailed information for each.
Step 4: Add Second Loop Activity — Iterate Over Node Pools
-
Click the “+” button again to add another activity under the first loop.

-
Go to Core
- Select Loop again.
-
In this loop:
- Use the output from the previous loop (Cluster Data) as input.
- Inside this loop, add Azure Managed Kubernetes (A3) to fetch node pool details such as Node Pool Name, Node Size, and Status.
- Click Submit to confirm.

-
This second loop now iterates through all Node Pools of each cluster fetched in the previous step.
Step 5: Add Slack Notification Activity
- After completing both loops, add a Slack activity to send the results.
Click “+”

- Select Slack
- Choose the Slack Message action.

-
Configure the Slack message:
- Use variables like
{{activityA2.items}}for Cluster Names and{{activityA3.items}}for Node Pool Names.

- Example message:
Azure Cluster: {{activityA2.items.name}} Node Pool: {{activityA3.items.name}} Status: {{activityA3.items.status}} - Select the Slack Connection Reference (Slack Secret).
- Choose the Slack Channel where you want the message to be sent.

- Use variables like
-
Once configured, the Slack activity is added to your workflow.
-
Click Save to store your workflow and Run to execute it.

Step 6: Review the Results
-
When the workflow runs successfully, the Cluster Name and Node Pool Name will be sent as a message to your selected Slack channel.

-
You can verify the execution in the workflow logs — each activity’s status will show green ticks if successful.
Result / Outcome
After completing this workflow:
- Gripo automatically retrieves all Azure clusters and their node pools.
- You receive an instant Slack message with each cluster’s name, node pool name, and status.
- Manual fetching is eliminated — the loop dynamically handles all available clusters.
- The workflow can easily be reused or expanded for automation like scaling, tagging, or reporting.
Key Benefits
- Automation Efficiency: No need to manually iterate over clusters and nodes.
- Dynamic Execution: Automatically adjusts as your Azure environment changes.
- Visibility: Instant Slack updates keep your team informed.
- Reusability: Easily extend this workflow for cluster maintenance or cost management.