On Schdule Workflow
When to Use: Choose an On-Schedule Workflow when you want your process to run automatically at a set time or repeat regularly. It’s ideal for daily, weekly, or monthly tasks that should happen on their own without anyone needing to start them.
Examples:- Run a workflow every morning to collect and email system or cost reports.
- Shut down inactive clusters automatically every night to save cloud costs.
- Send a weekly summary on Slack showing deployments and alerts.
Create On Schedule Type Workflow
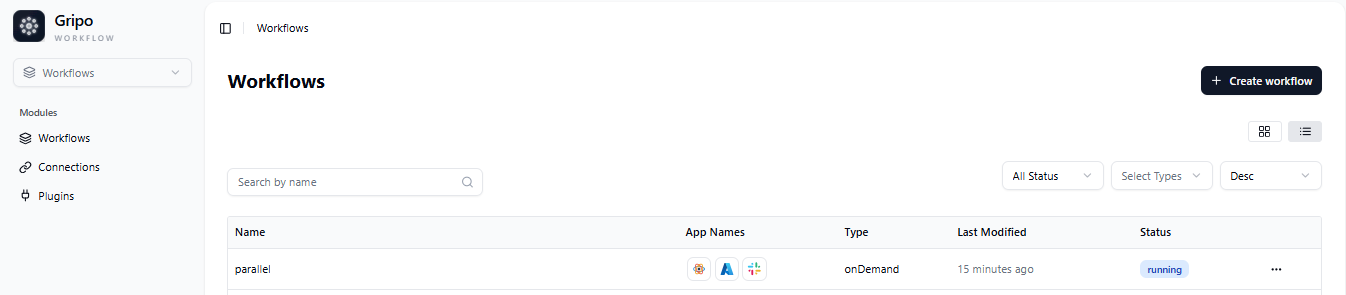
- Navigate to the Workflow tab from the main menu.
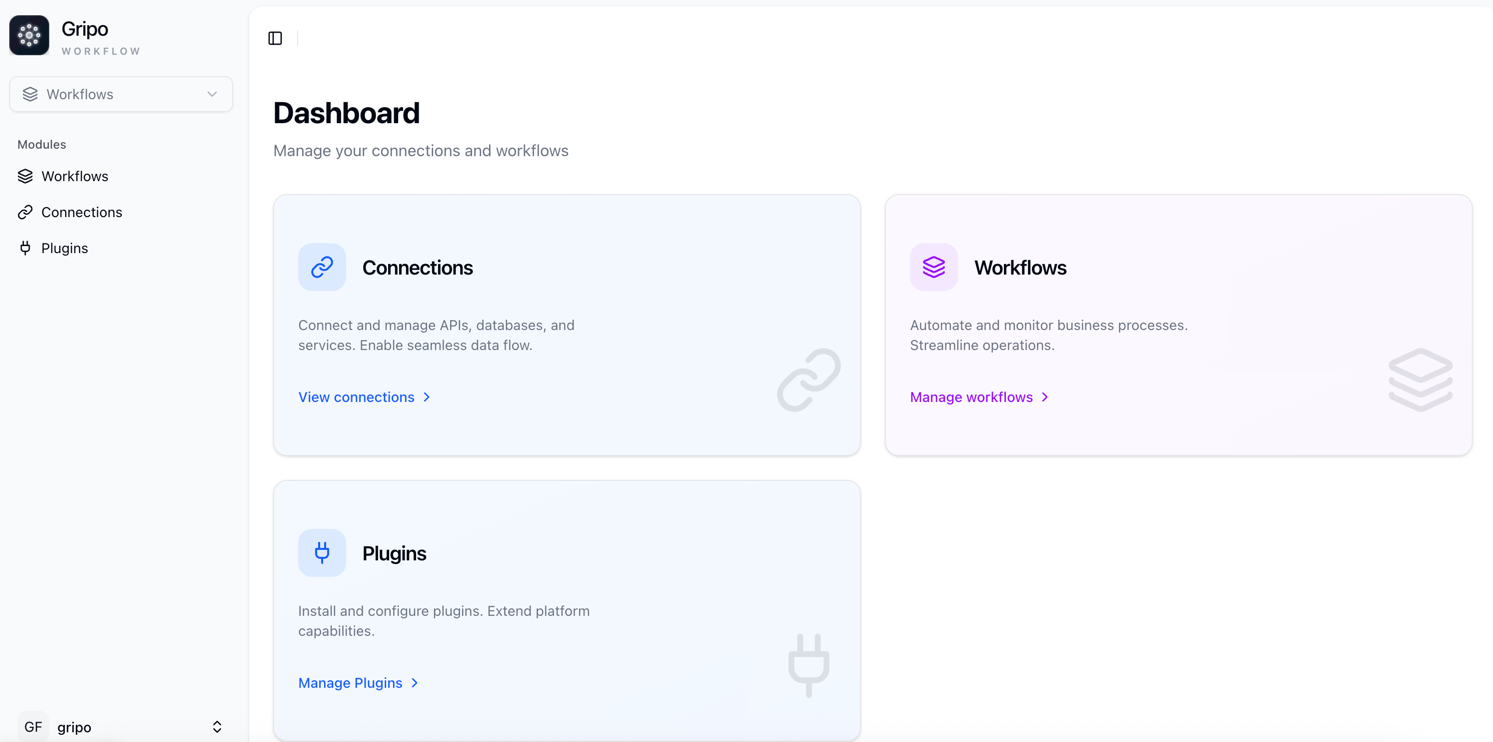
- On clicking Workflow, a window will appear displaying a list of all existing workflows.
- To create a new workflow, click on the Create Workflow button.
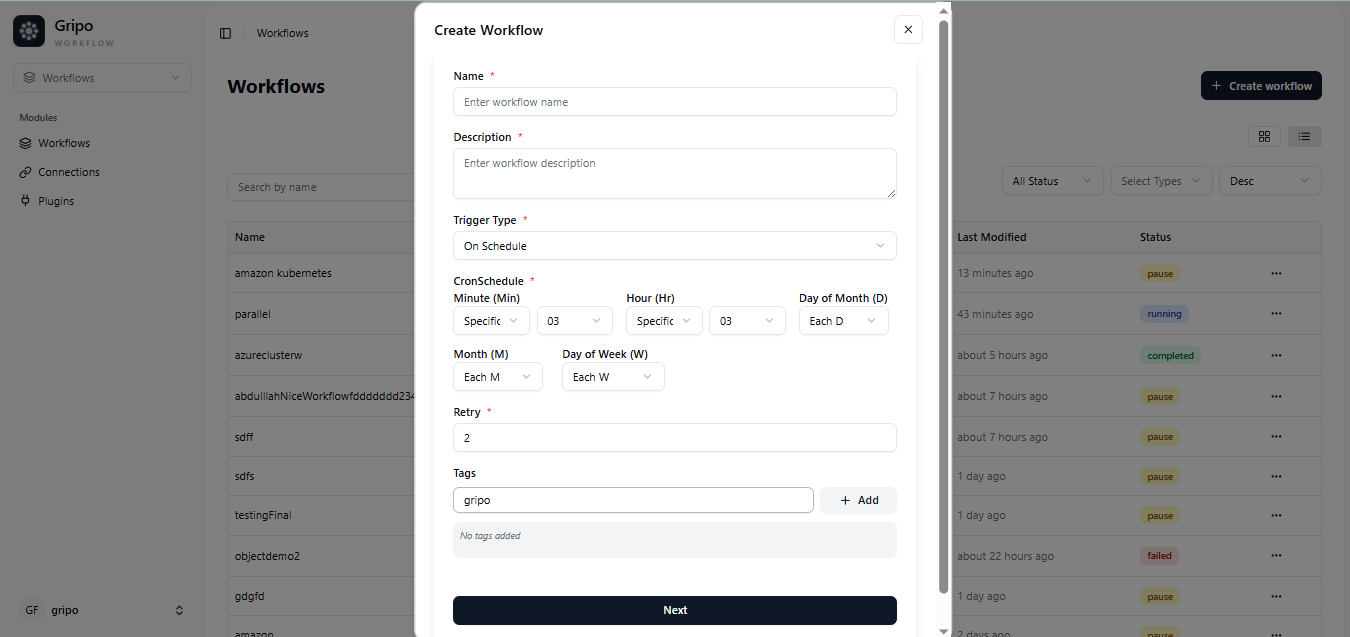
- A form will appear containing the following fields:
Name : Enter a unique name for your workflow.
Description : Add a short explanation of what the workflow does.
Trigger Type : Select the workflow type “On Schedule” from the available options.
Retry : Define how many times a failed step should be retried.
Tags : Add relevant tags to help categorize and filter workflows.

- After selecting “On Schedule” as the workflow type, a Schedule Configuration section appears.

-
In this section, you can set your preferred time by defining the minutes, hours, days, and months for when the workflow should run automatically.
-
Once you’ve set the schedule,fill the remaining required fields, click on the Next button to create your workflow.
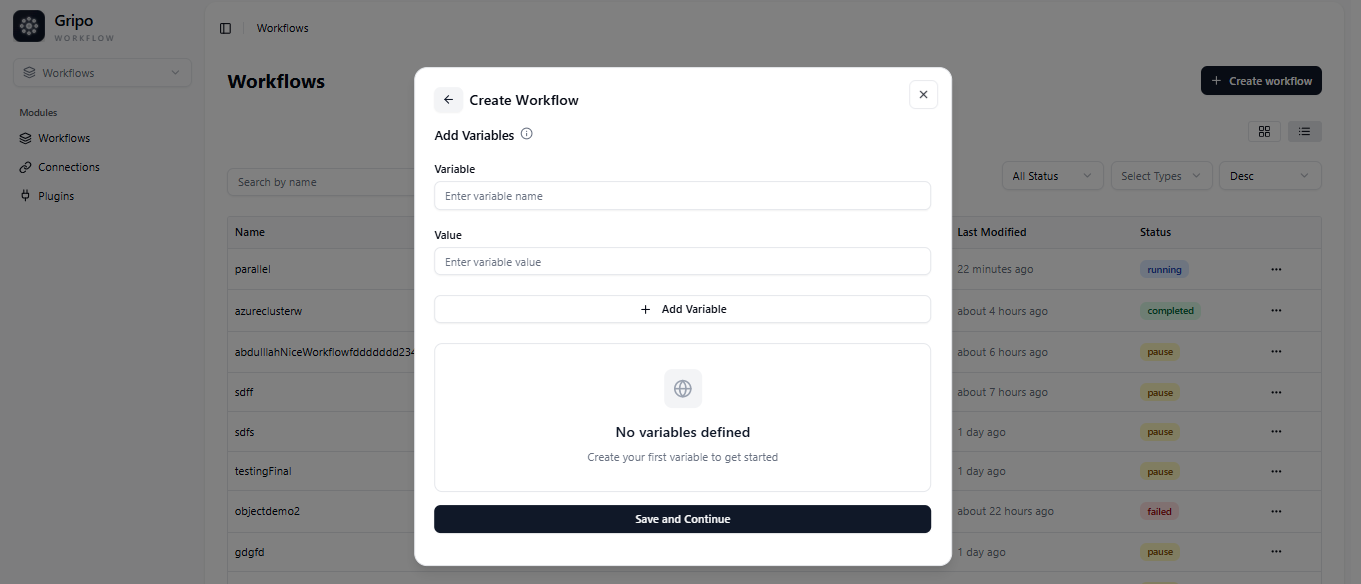
- A window will appear with fields for adding Variables and their Values.
- You can add as many variables as needed by clicking Add More Variable.
- If you don’t want to add any variables, click Skip Variables to move ahead.
- If you’ve added variables, click Save and Continue to proceed.
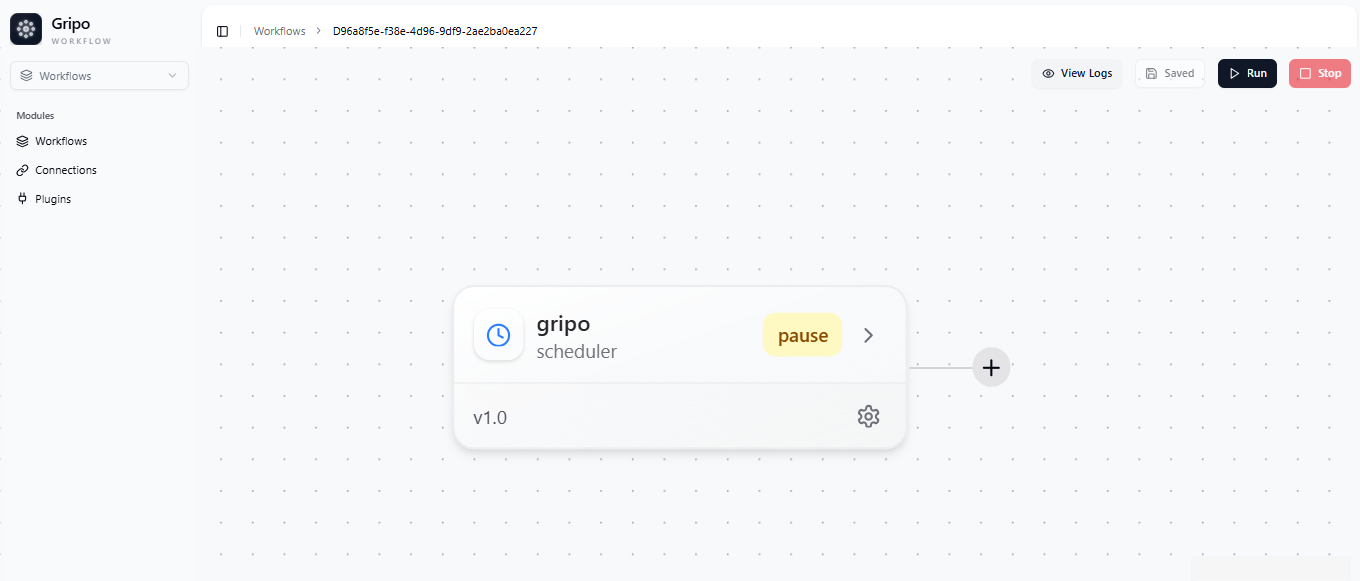
- A confirmation popup will appear, indicating that your workflow has been successfully created.
- Once the workflow is created, you can view it in the workflow.