Azure’s Connection:
In order to interact with Azure service, you will need to add azure cloud secret into the Gripo Workflow. Use the following steps to get the Credentials and add to GRiPO’s Workflow.
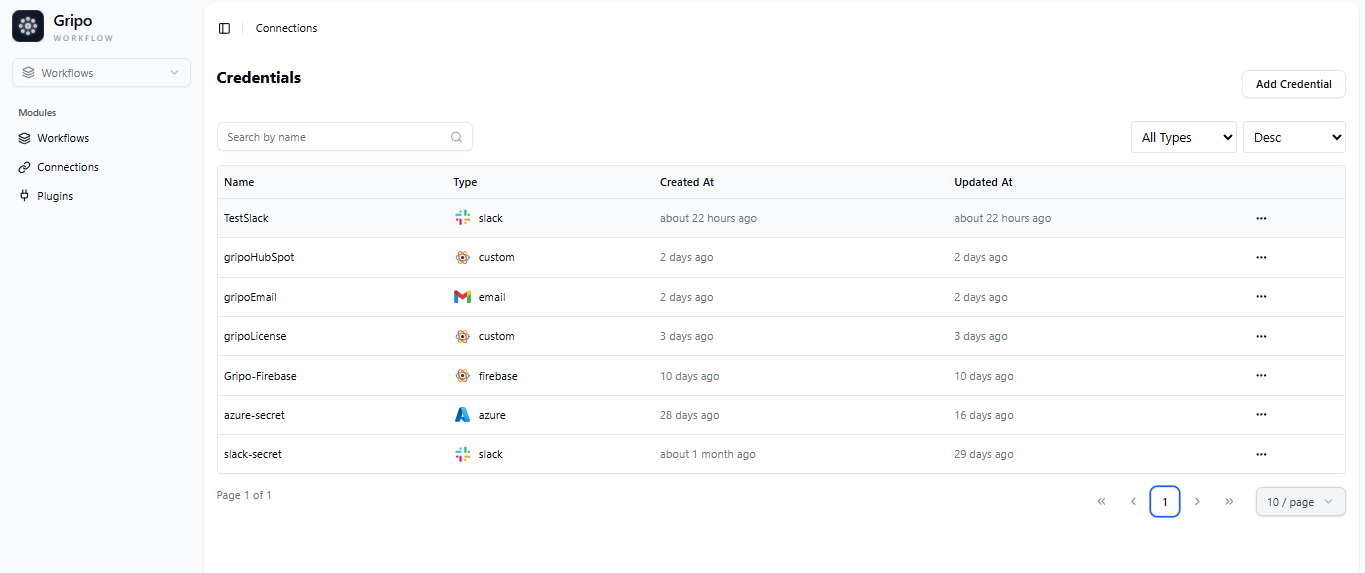
Create Connection on Gripo’s Workflow
- To create a connection, navigate to the Connection section

- Click on Add Credentials
- A window appears. From the Application dropdown, choose Azure.
- Click on Next button

- A form will be presented for you to enter the required details.
- Enter a designated name for your credential.
- Provide the Client ID
- Provide the Client Secret. Provide the Subscription ID
- Provide the Tenant ID.

- To fill in the required fields, the necessary variables must first be created in the Azure Portal.
Create Connection Variables From Azure portal
- Sign in to the Microsoft Azure portal at https://portal.azure.com.
- Click “Sign In” in the top right corner.
- Enter your Microsoft account credentials.
- Complete two-factor authentication if enabled.
- Once signed in, access and manage your Azure resources through the Azure portal.
- Four variables are required from the Azure portal: Client ID ,Tenant ID, Subscription ID, and Secret Value Or key.
Client ID and tenant ID:
-
To generate Client ID , it is necessary to navigate in App registration Section to register your application.
App Registration: -
After signing in, click on the hamburger menu in the top left corner

- Select “All Services” to navigate to the desired feature.

- In the “All Services” section, click on the “Identity” category among the side tabs.
- Within the “Identity” category, find and click on the “App Registration” button in the Identity Management section.

- Choose ‘New Registration’ to access a data-entry form.

-
Provide details ‘Application Name’
-
In ‘Supported Account Types’ , select the type .
-
Supported Account Types determine permissible user categories.
-
Click ‘Register’ to complete the initial app registration.

-
After clicking the register button, a Client ID and Tenant ID will be generated. You can view the Client ID and Tenant ID in the overview section
-
The client ID uniquely identifies your application in the Microsoft identity platform.

Secret Value Or Key:
- To create a client secret, click on Client Credentials in Overveiw section.

- In the Certificates & Secrets section, select Client Secrets, then click on + New Client Secret to create a new secret

- When making a new client secret, describe it briefly and set an expiration date for added security
- Click the ‘Add’ button.

- A confirmation popup window appears, indicating that the credentials have been successfully added.

- After saving the client secret, note that it’s a one-time revelation. Copy and securely store it alongside other essential values in your application’s source code, such as client ID. This secret, combined with the client ID, ensures a secure sign-in experience.

Subscription ID:
- To obtain the subscription ID, click on ‘Microsoft Azure’

- Next, click on the ‘Subscriptions’ button

- Within the subscription segment, you will find your subscription name alongside the subscription ID
- Copied the subscription ID for futher process.

Click on your subscription Name to proceed with further actions.

- Once in the details, click on “IAM.”

- Click on the “Add” option.

- Proceed to select “Add role assignment

- In the Role tab, carefully choose a role that aligns with your intentions (Job function roles or Privileged administrator roles) for the application.

- Click on Privileged administrator roles

- For actions like rebooting and managing instances, select the Contributor role.
- After your role selection, it will be appended to your interface. Subsequently, advance the process by clicking on the “Next” button.

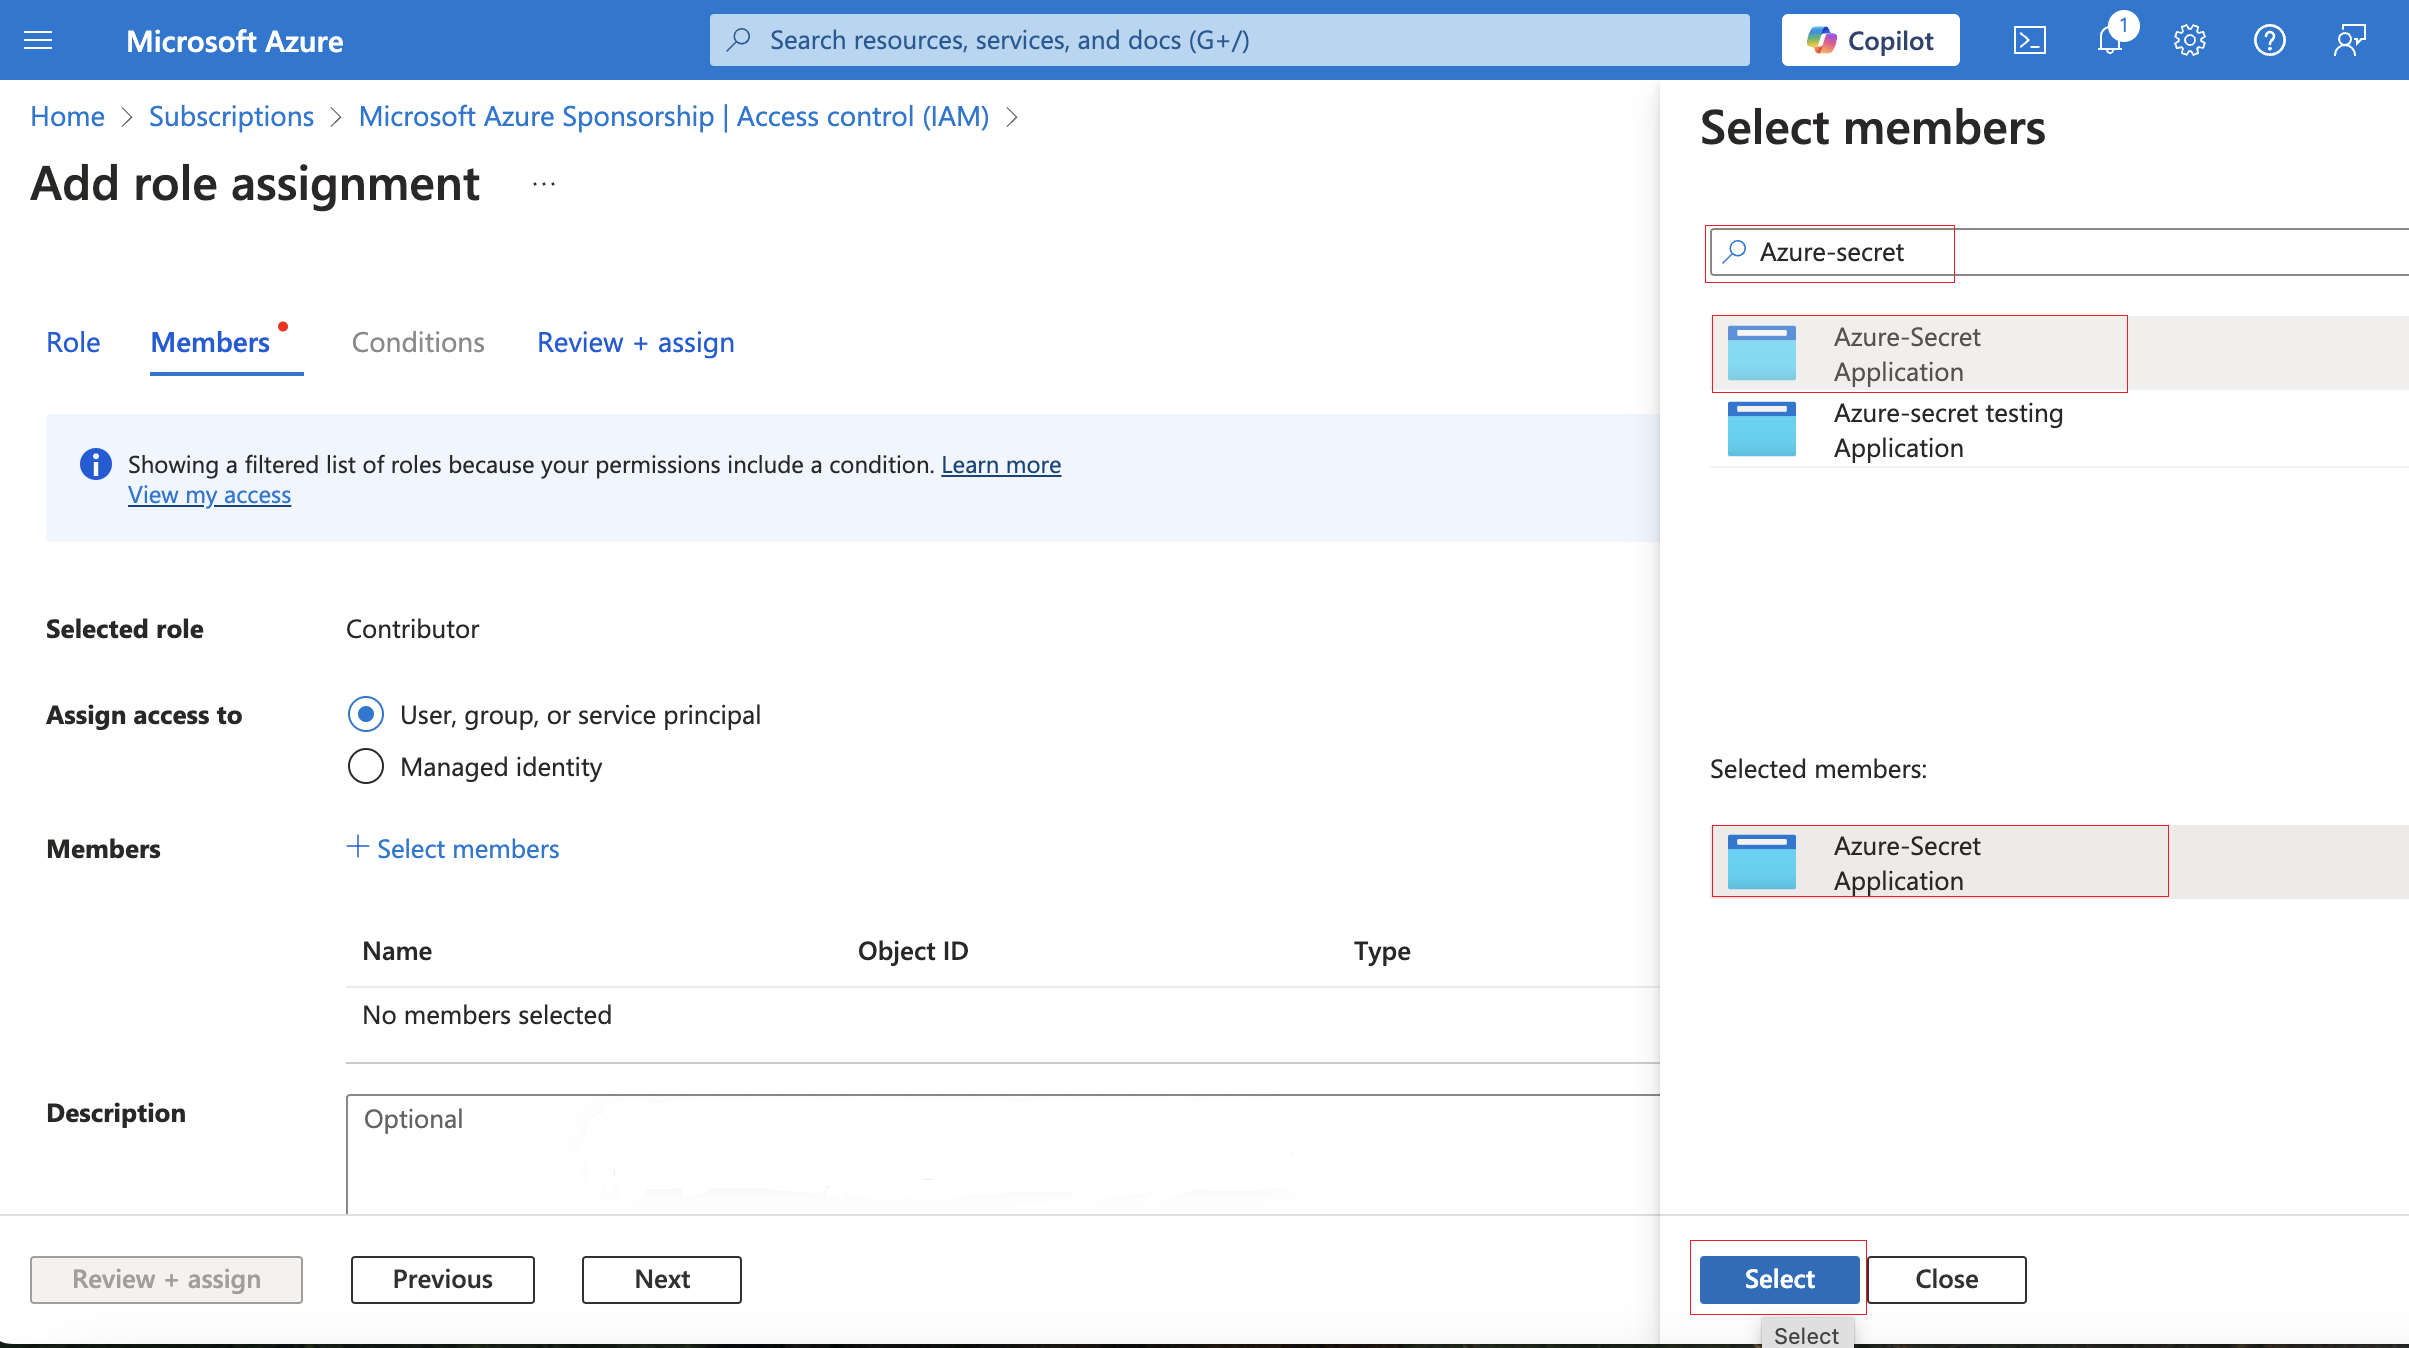
- In the Members tab, choose “Assign access to” and select “User, group, or service principal.”
- Click on + Select Member

- Locate your application name by searching for it in the search box.
- Select your’s application name and click on it.
- Click on Select buttom
- Now, you can see the name, Object ID, and type clearly.
- Click on Next button

- In the “Review + Assign” tab, elegantly opt for the “Review + Assign” button to continue the process.

- A confirmation pop-up window will appear to verify the addition of the contributor role.

Copied the variables :* Within the ‘All Services’ category, find and click on the ‘App Registration’ option under the ‘Identity’ Management section. Then, select ‘All Applications’.
- Click on your application name.
- Navigate to ‘Overview’
- Find the Client ID , Tenant ID and Object ID in the “Overview” section of your application.
- Copy the Object ID, Client ID ,Tenant ID for the next stepsnpm run build

Pasting Azure’s Credential to Workflow
- Paste Client ID , Tenant ID , Subscription ID and Client Secret key Which is copied from azure portal and submit it by clicking the “Submit” button.
