Connection Management
Connections allow you to securely store and manage credentials for external services in GRiPOFlow. Once created, a connection can be reused across multiple workflows and plugins, making integrations easier to maintain and more secure.
Create a Connection
Before using a provider or custom authentication method in your workflow, you must first create a connection.
Step 1 – Open the Connections Page
From the Dashboard, navigate to the Connections section.
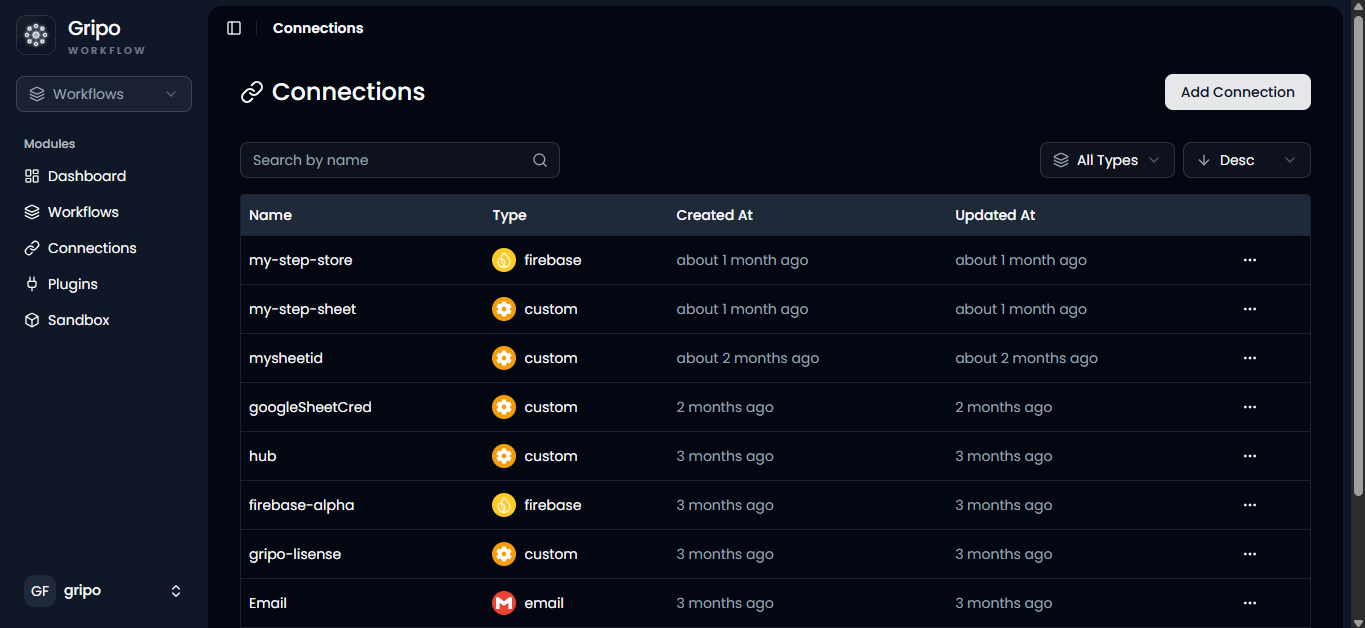
Step 2 – Add a New Connection
Click Add Credential to create a new connection.
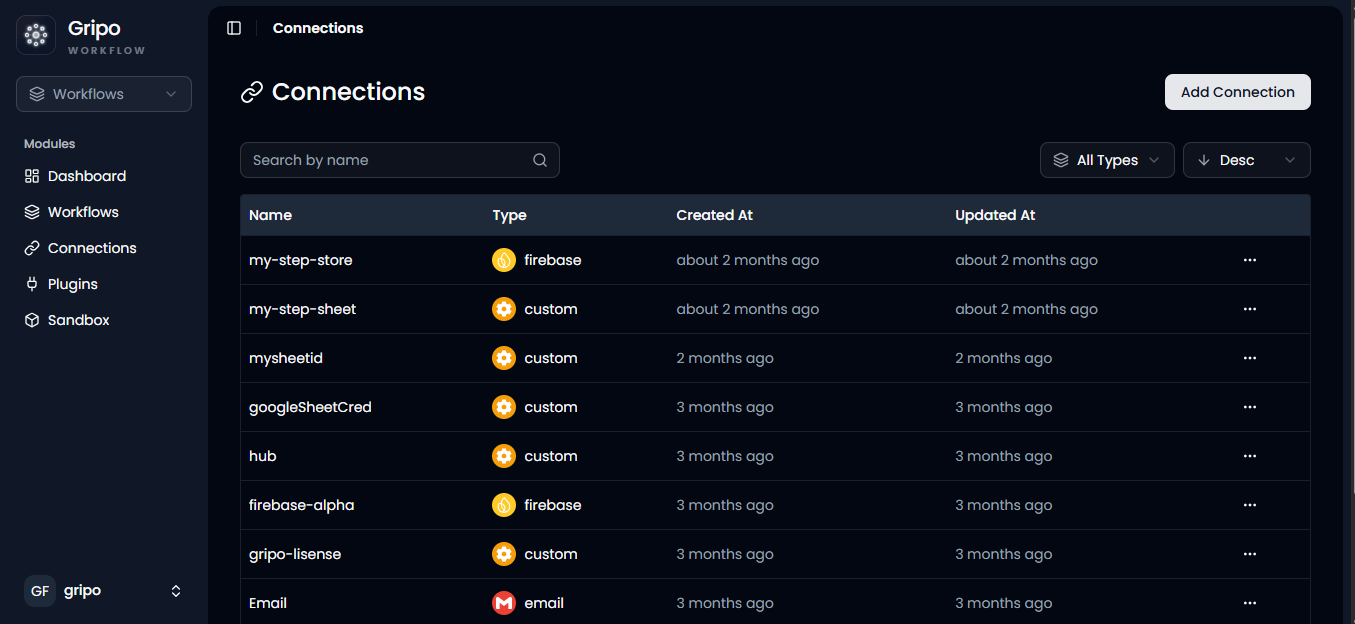
Step 3 – Select an Application
From the Application dropdown, choose the provider you want to connect.
If the provider is not available in the list, select Custom to configure a custom authentication method.
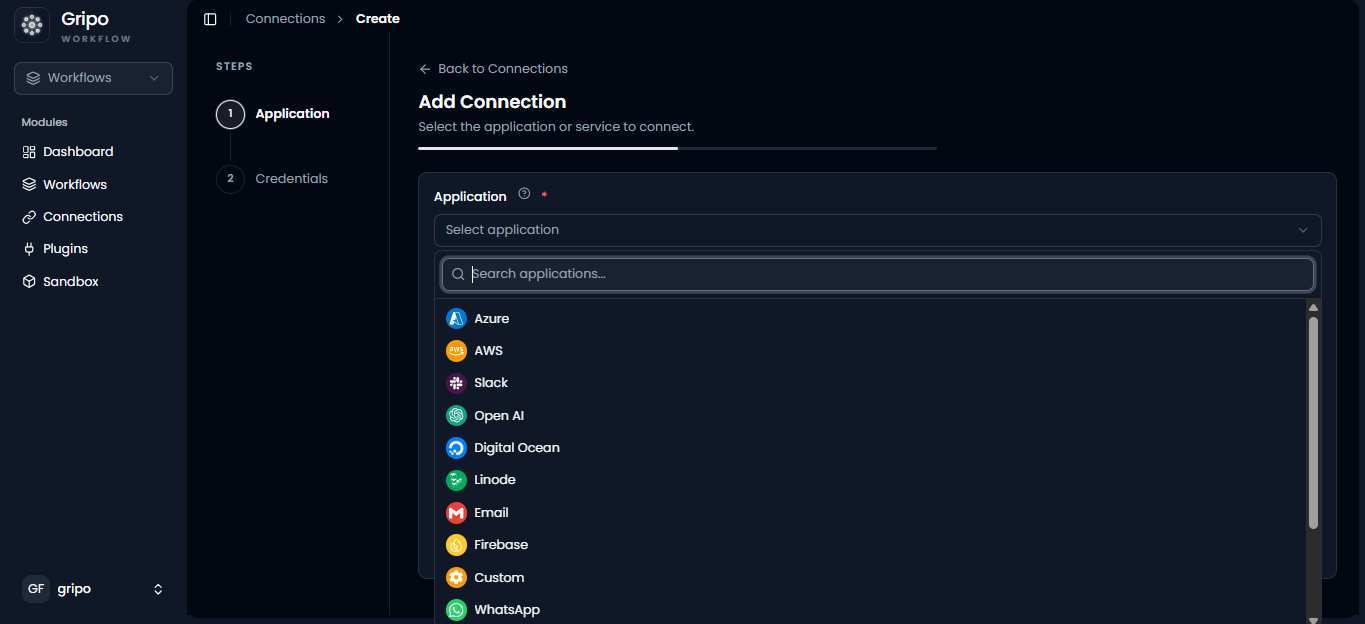
Step 4 – Configure the Connection
After selecting the application, GRiPOFlow opens the configuration form for that provider.
Since each provider requires different credentials, follow the corresponding provider documentation to complete the configuration.
For example:
| Provider | Documentation |
|---|---|
| Azure | Azure Connection |
| AWS | AWS Connection |
| Google Cloud | Google Cloud Connection |
| GitHub | GitHub Connection |
| OpenAI | OpenAI Connection |
| Claude Code | Claude Code Connection |
| Firebase | Firebase Connection |
| Email Connection | |
| Slack | Slack Connection |
| WhatsApp Connection | |
| OVH Cloud | OVH Cloud Connection |
| Custom Provider | Custom Connections |
Step 5 – Submit the Connection
After completing the provider-specific form, click Submit.
The connection is validated and added to the Connections list, making it available for workflows and plugins.
Update a Connection
You can update an existing connection whenever credentials change, such as replacing an API key, rotating a token, or modifying connection details.
Step 1 – Open the Connections Page
Navigate to the Connections section from the Dashboard.
Step 2 – Open the Connection Menu
Locate the connection you want to modify.
Click the three-dot (⋮) menu and select Edit.
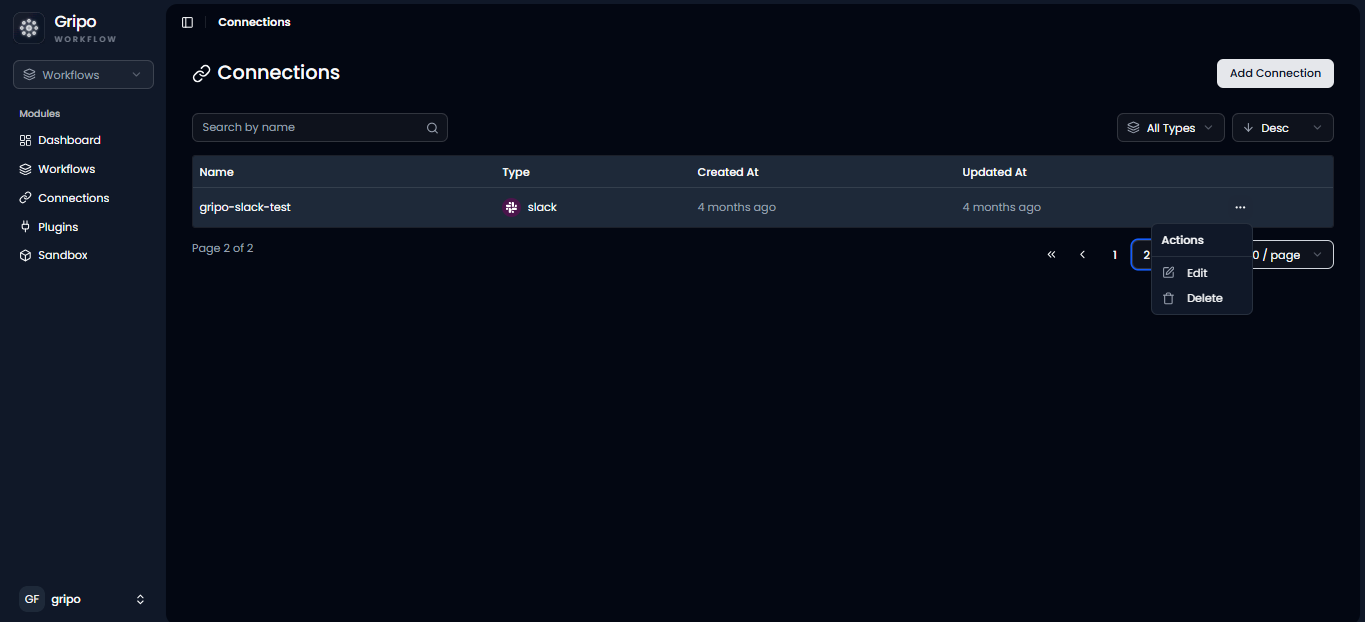
Step 3 – Update the Connection
The provider’s configuration form will open.
Modify the required fields and click Submit to save your changes.
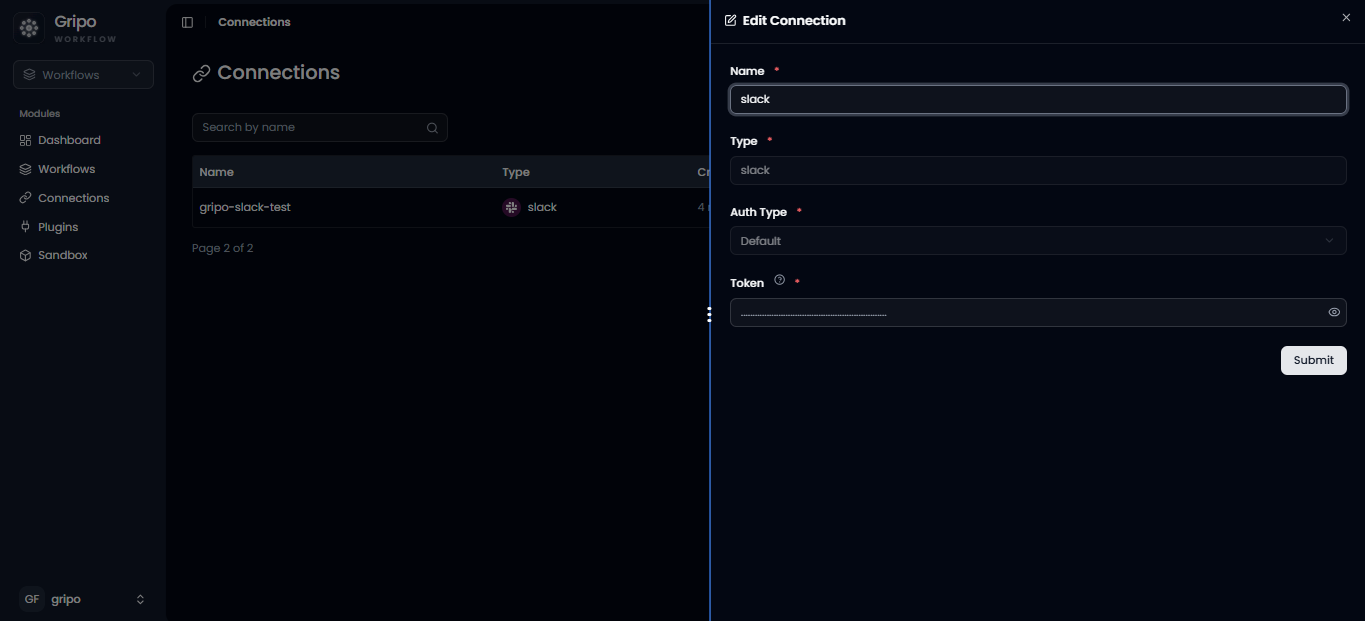
Step 4 – Confirmation
After successfully updating the connection, the latest configuration will be available for all workflows that use this connection.
Note: Updating a connection changes the credentials for every workflow that references it.
Delete a Connection
Delete connections that are no longer required or are no longer valid.
Step 1 – Open the Connections Page
Navigate to Connections from the Dashboard.
Step 2 – Open the Connection Menu
Find the connection you want to remove.
Click the three-dot (⋮) menu and select Delete.
Step 3 – Confirm Deletion
A confirmation dialog will appear.
Click Delete to permanently remove the connection.
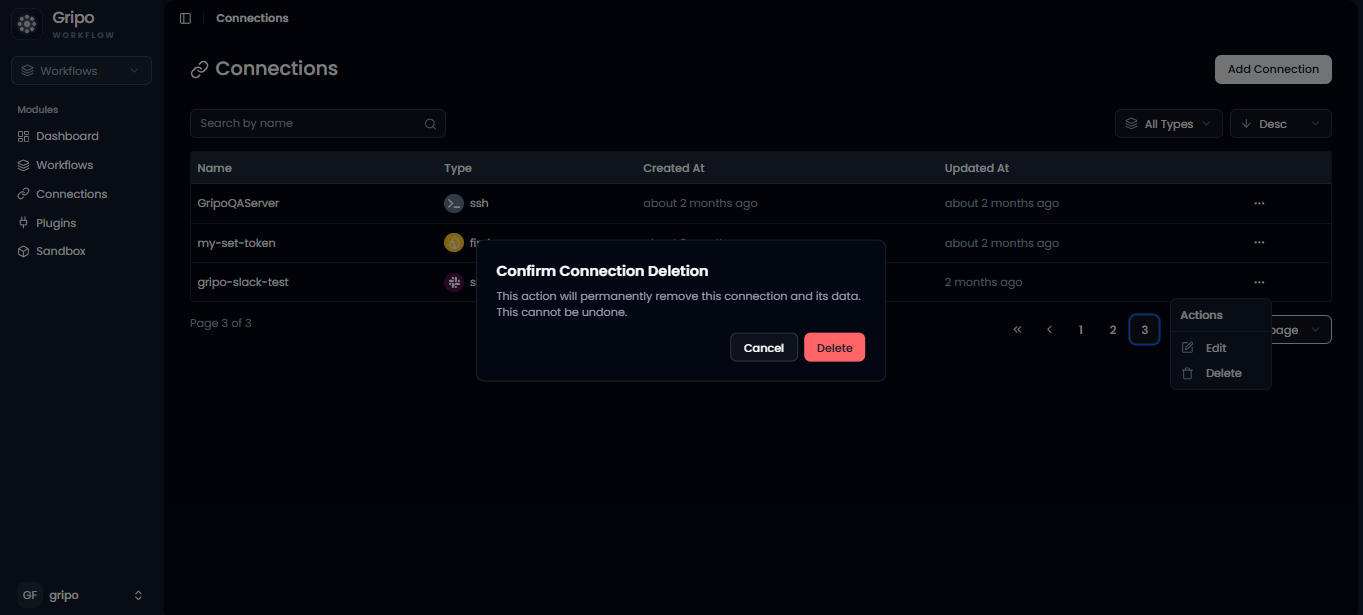
Warning: Deleting a connection permanently removes it from GRiPOFlow. Any workflows or plugins using this connection will need to be updated with another valid connection before they can authenticate successfully.
Best Practices
- Use descriptive connection names so they are easy to identify.
- Reuse existing connections whenever possible instead of creating duplicates.
- Update credentials before they expire.
- Delete unused or obsolete connections regularly.
- Store sensitive credentials only in Connections and never directly inside workflows.