AWS Connection
AWS Provider Connections allow GRiPOFlow to securely authenticate with your Amazon Web Services (AWS) account.
Before You Begin
In order to interact with AWS services, you will need to create an AWS connection in GRiPOFlow and obtain the required credentials from the AWS Management Console.
Use the following sections to complete the setup:
Configure the AWS Connection in GRiPOFlow
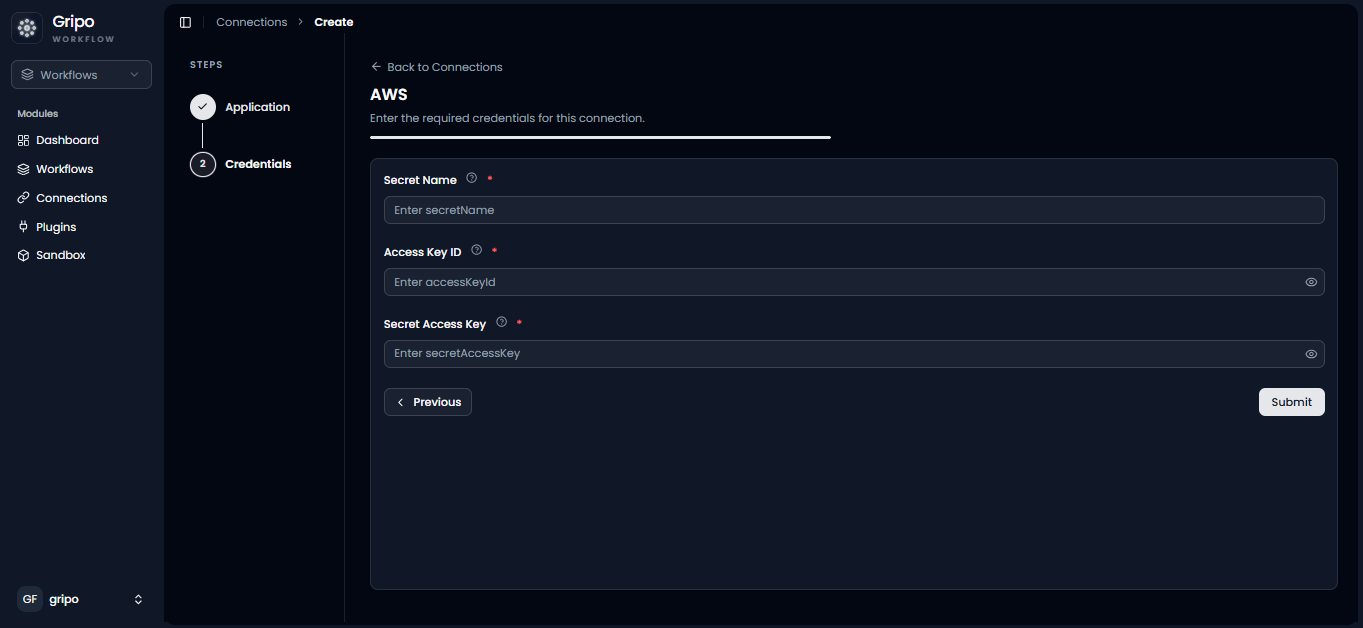
AWS Connection Form
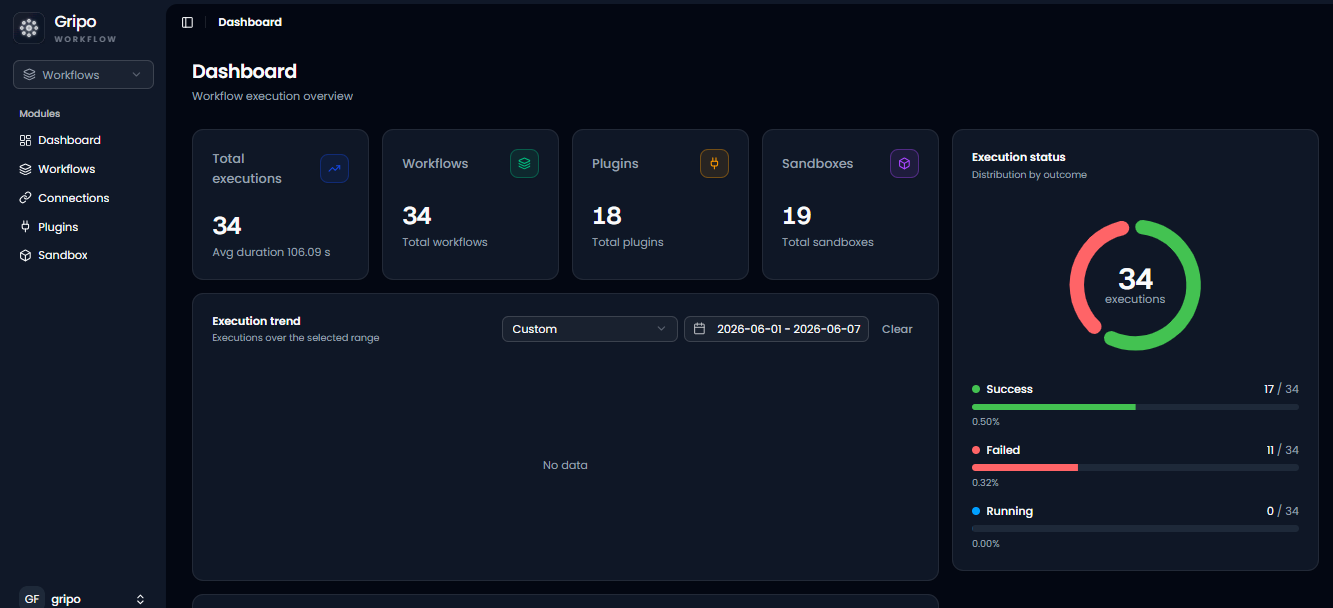
- To create a connection, navigate to the Connection section
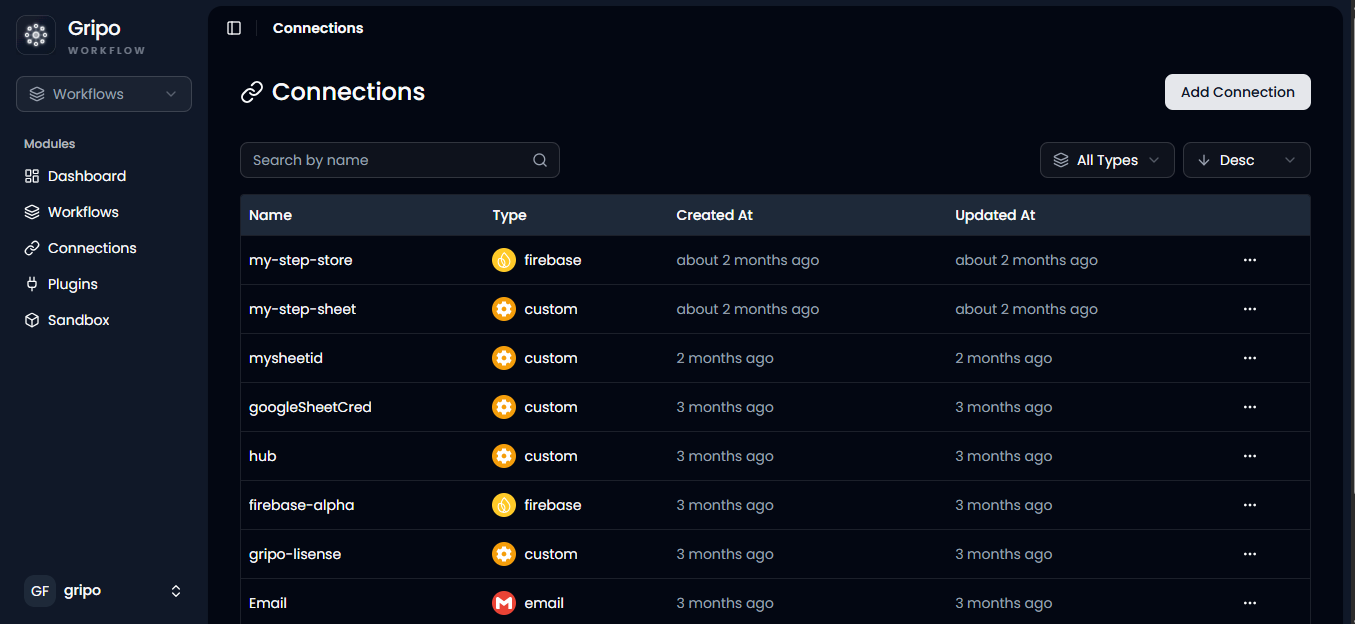
- Click on Add Credentials
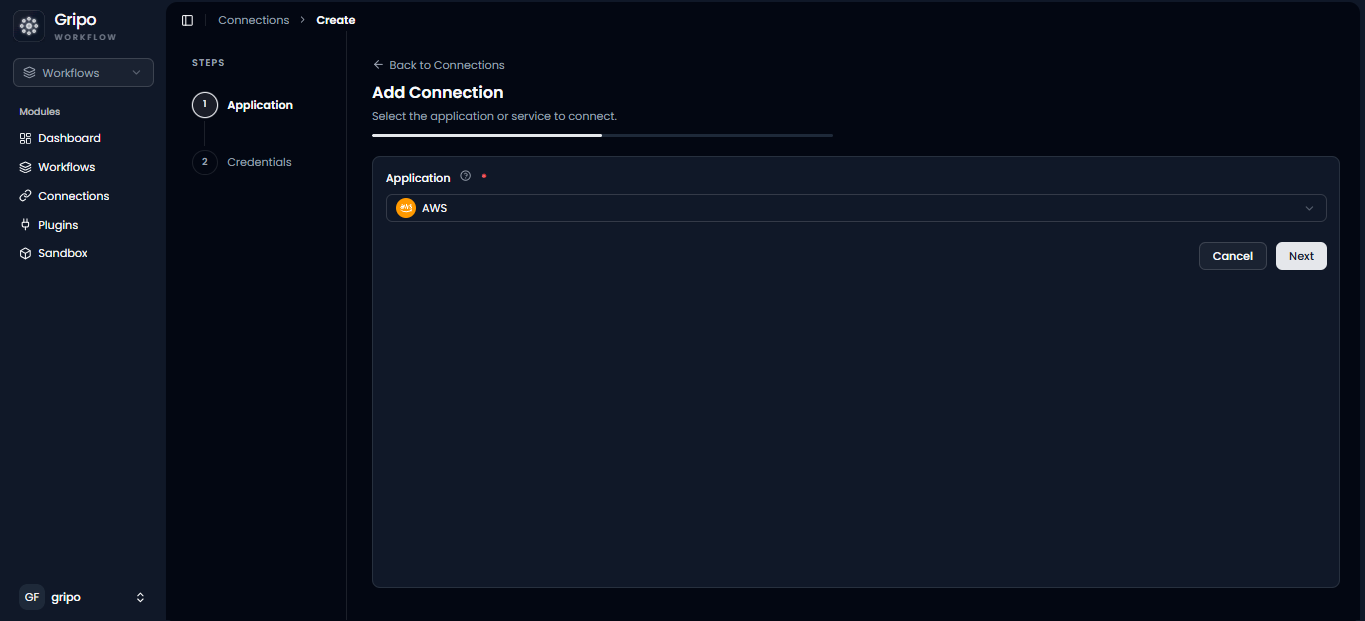
- A window appears. From the Application dropdown, choose AWS.
- Click on Next button
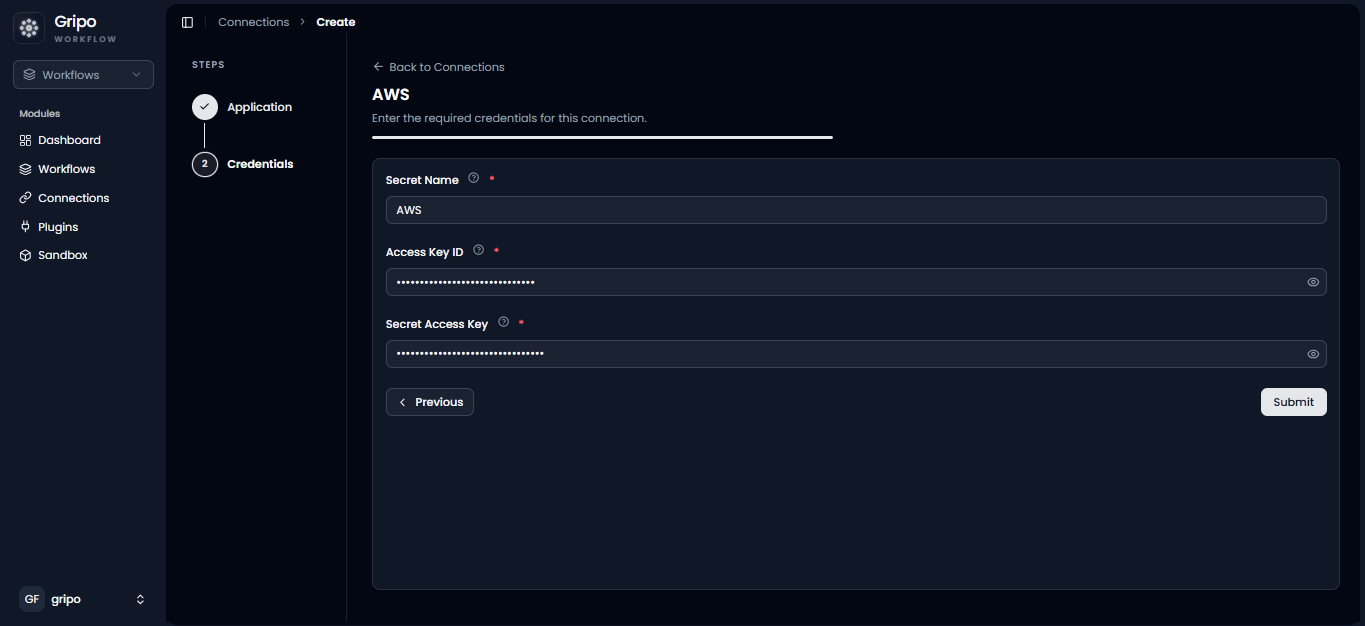
- Enter a designated name for your account.
- Provide the Access Key ID
- Provide the Secret Key ID.
Generate AWS Credentials
To complete the AWS connection form, you will first need to obtain the required credentials from the AWS Management Console.
The following credentials are required:
- Access Key ID
- Secret Access Key
Create an IAM User
Create User ID on AWS Cloud
-
Visit https://aws.amazon.com.
-
Click “Sign In” in the top right corner.
-
Enter your Amazon account credentials.
-
Complete two-factor authentication if enabled.
-
After signing in, use the search bar to type ‘IAM.’
-
Click on ‘IAM Manage AWS Resources’ in the search results.
-
Now you can manage your AWS resources through the IAM section.
-
After accessing the ‘IAM’ section, a window will display. Within the Dashboard navigation, locate the ‘USER’ category and proceed by clicking on it.
-
In the ‘USER’ section, view the list of user names and their information.
-
If the desired user is not listed, click ‘Create’ in the upper right corner.
-
Enter the new username in the prompted window.
-
Click ‘Next’ to proceed.
-
Set Your desired Permission
-
Choose your preferred user group from the list.
-
After selecting a user group, click ‘Next.’
-
Review the new username details.
-
If satisfied, click ‘Create User’ to finish.
-
For adjustments, use the ‘Previous’ button before creating.
Generate Access Keys
Create Access Key ID on AWS Cloud
-
After creating the username, select it from the list.
-
Click ‘Next’ to proceed.
-
To create an access key, choose ‘Create Access Key’ from your username options.
-
In the “Best Practice for Access Key and Alternatives” step of creating access key, choose your preferred Use Case.
-
Click ‘Next’ to proceed after making the platform selection.
-
Set descriptive tags for identification.
-
Click ‘Create Access Key’ to finalize the process.
-
A pop-up for verification has appeared.
-
To view your access key and secret key, simply click on the Show option
-
Copy the access key and secret key to proceed with the next steps
Complete the AWS Connection
Add Access Keys to GRiPOFlow
- Paste “Access Key ” in “Access Key ID ” field of form and “Secret Key ” in “Secret Key ID” Field of form which is copied from amazon portal.
- Click the “Submit” button to create the secret.