DigitalOcean Connection
DigitalOcean Provider Connections allow GRiPOFlow to securely authenticate with your DigitalOcean account using a Personal Access Token.
Before You Begin
To use DigitalOcean services in GRiPOFlow, you must create a DigitalOcean connection and generate a Personal Access Token from the DigitalOcean Control Panel.
Use the following sections to complete the setup:
Configure the DigitalOcean Connection in GRiPOFlow
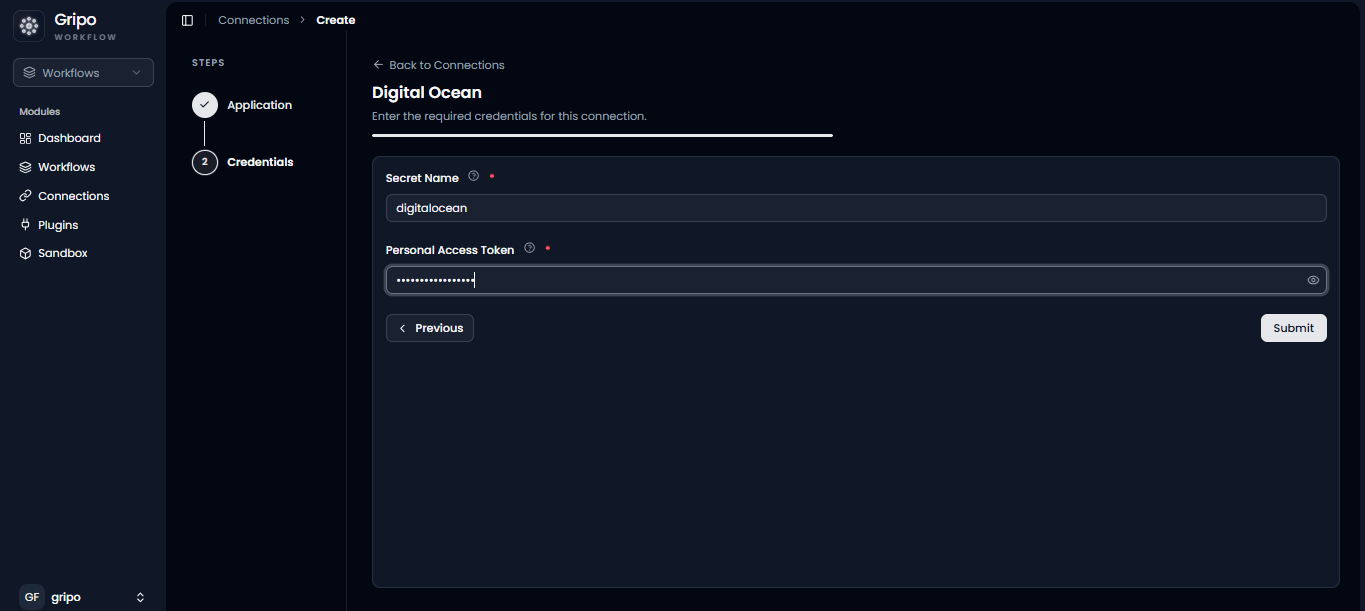
DigitalOcean Connection Form
- To create a connection, navigate to the Connection section
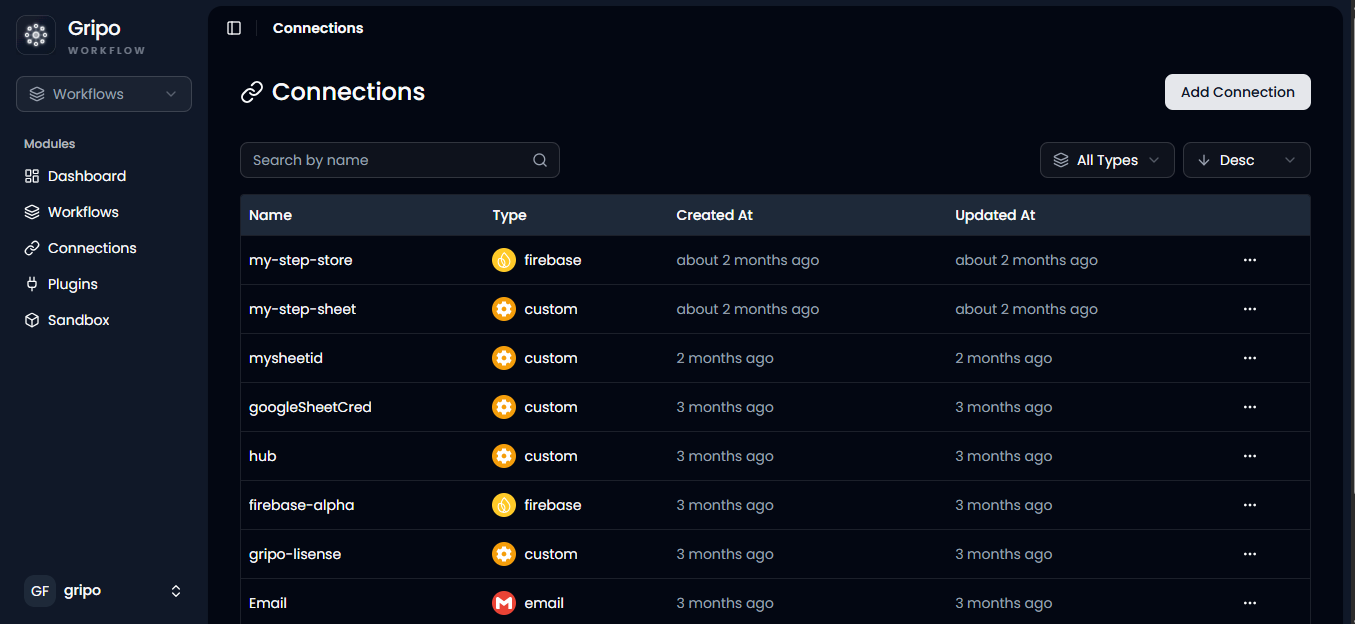
- Click on Add Credentials
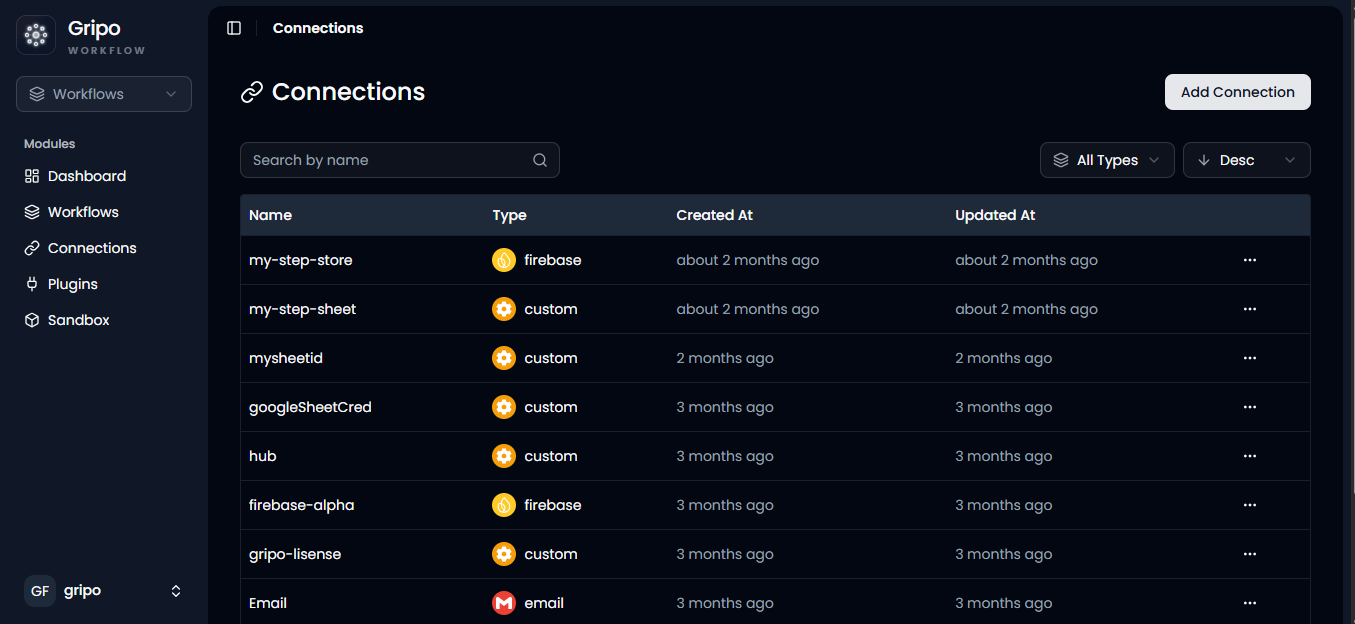
- A window appears. From the Application dropdown, choose Digital Ocean.
- Click on Next button
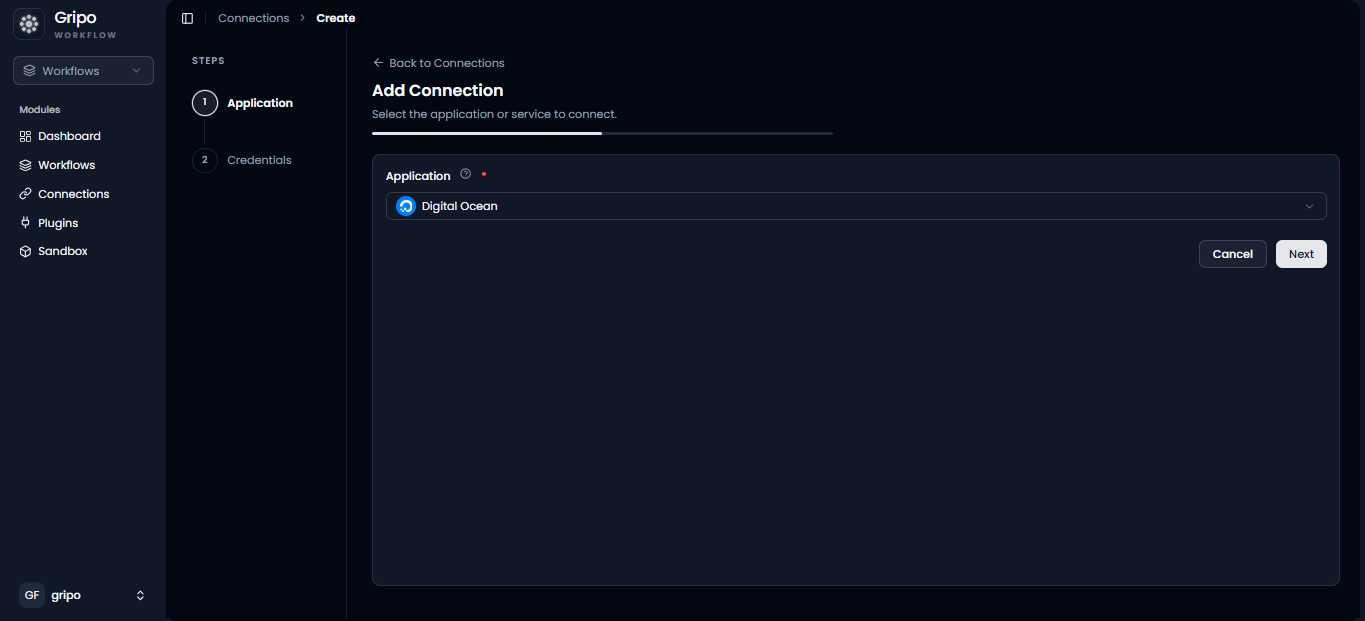
- A form will be presented for you to enter the required details.
- Enter a designated name for your credential.
- Provide the Personal access Token
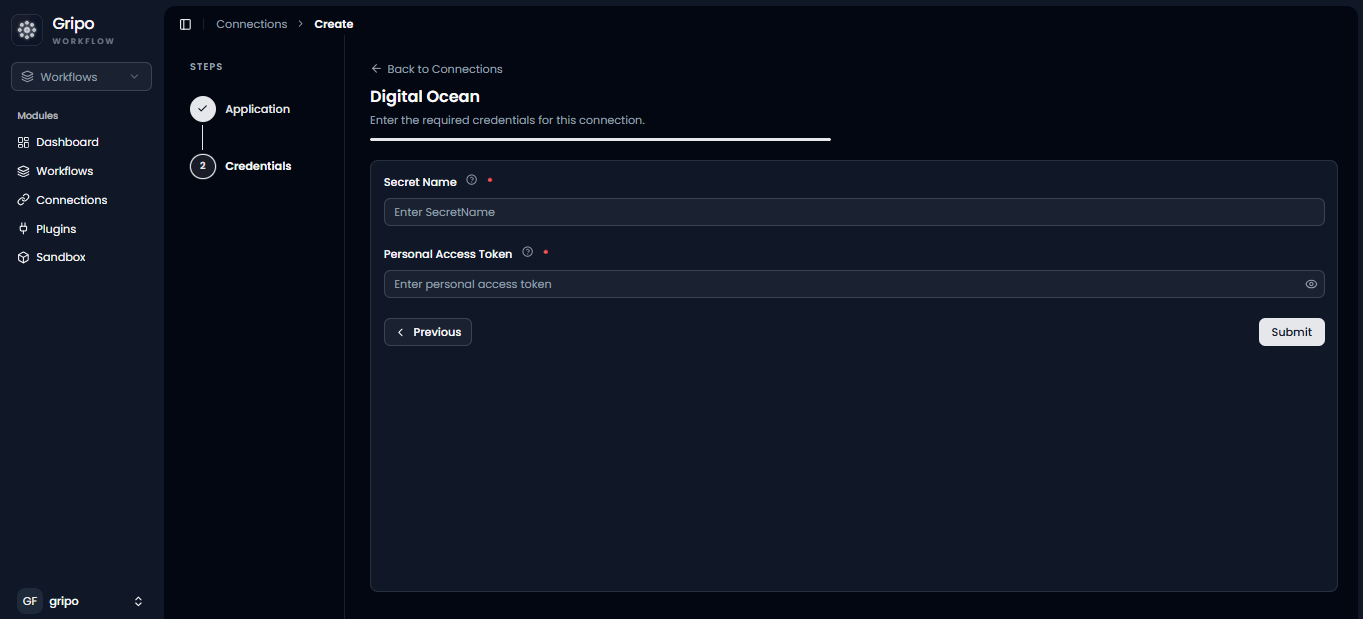
Generate a Personal Access Token
Create a Personal Access Token from the DigitalOcean Porta
-
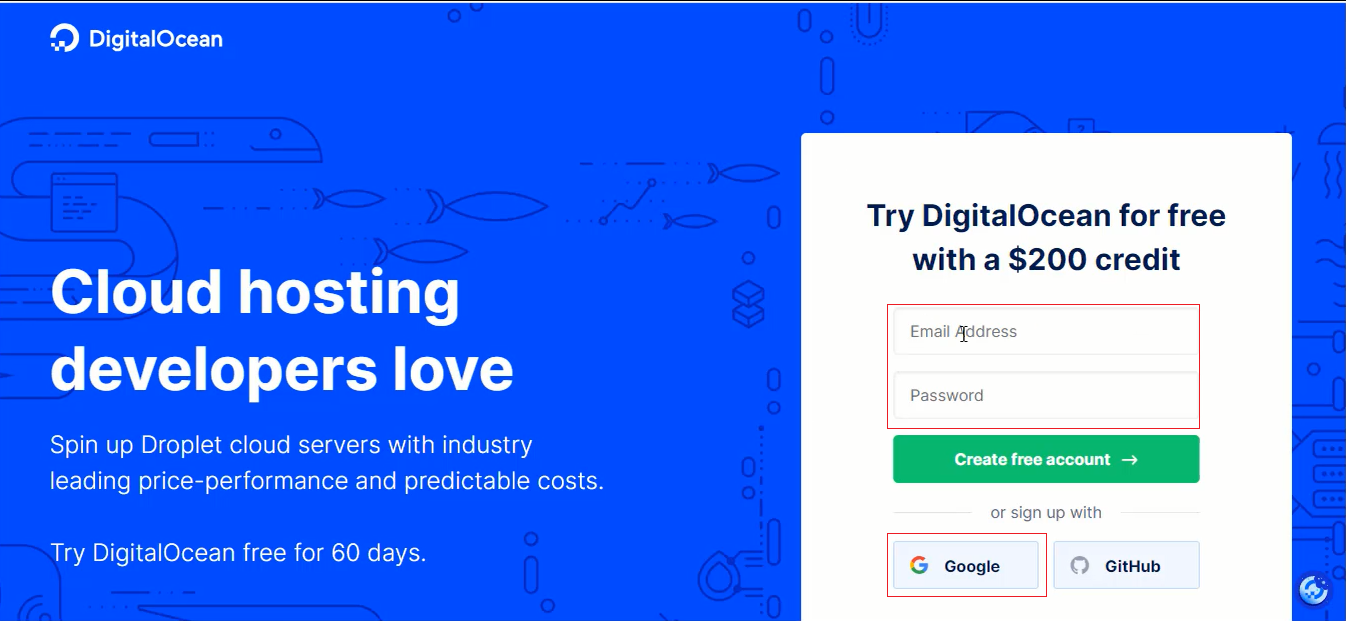
Please access your web browser and navigate to the Digital Ocean portal by entering the following URL: https://www.digitalocean.com/
-
Locate and select the “Sign In” button, typically situated at the upper right-hand corner of the page
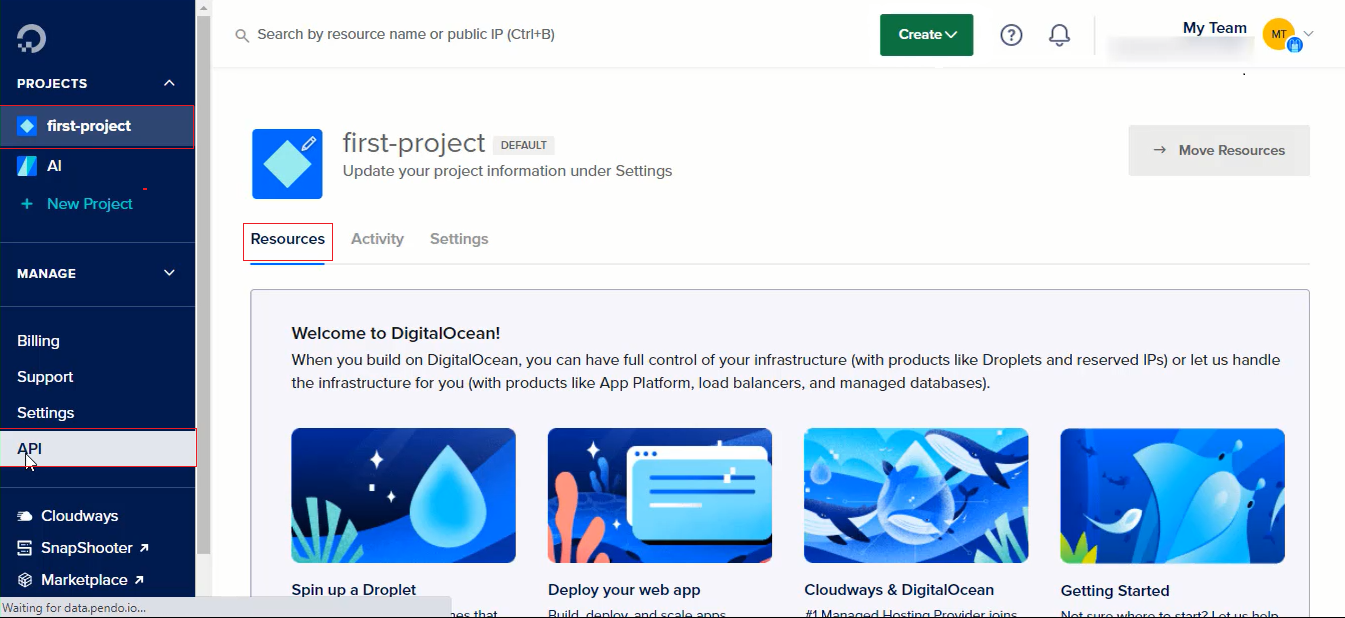
- After signing in, access and manage your Digital Ocean resources on the main page. Locate ‘Manage’ in the sidebar, then click on ‘API’.
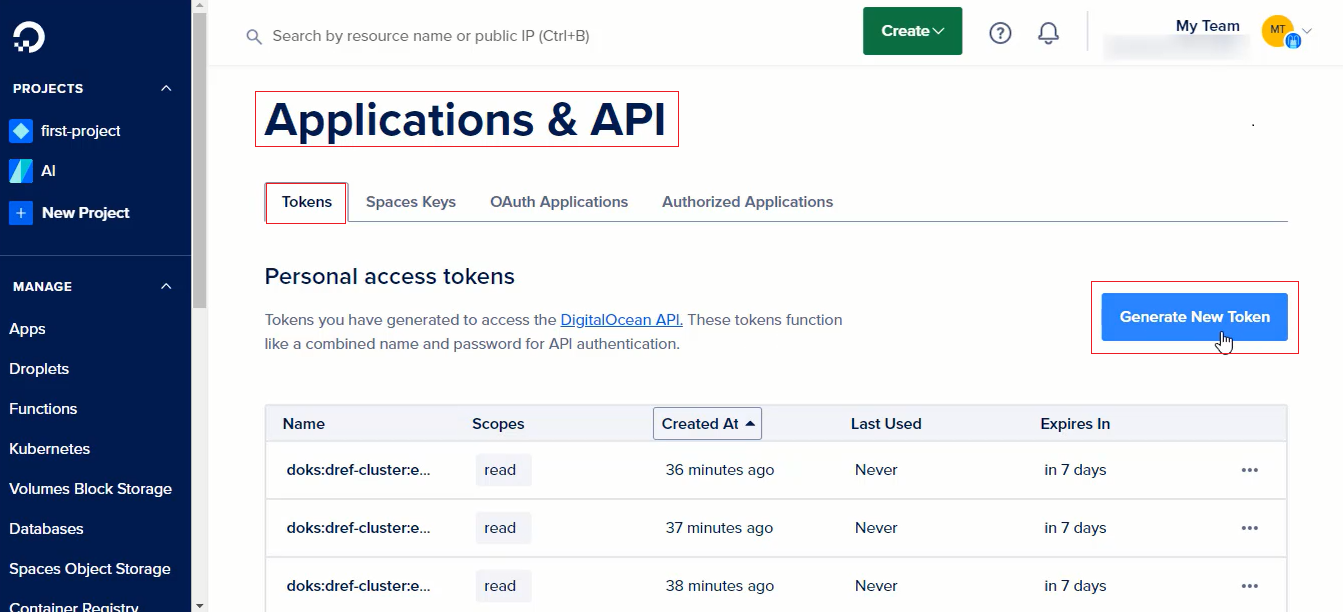
- After launch, go to ‘API and Applications’ to find token details in the ‘Token’. tab. Click ‘Generate New Token’ to proceed.
- Complete the form with Token Name, Expiration, and Scope. Click ‘Generate Token’ to create a new token.

-
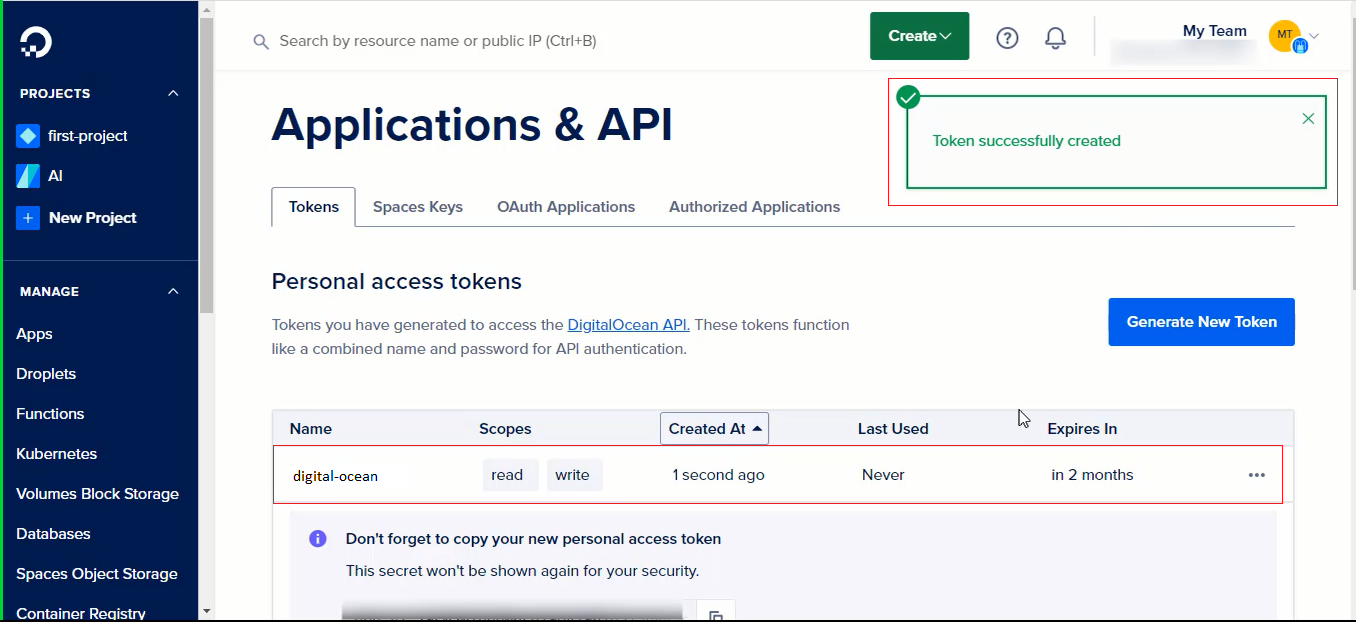
You will receive a confirmation pop-up window indicating the successful creation of the token
-
Copy the token to proceed with the next steps
Complete the DigitalOcean Connection
Add the Personal Access Token to GRiPOFlow
- Proceed to paste Token into the designated field which is copied from Digital Ocean Portal within your ‘DigitalOcean Cloud Account
- The recently generated secret is now visibly listed and available for access.